
Enclosing a Prusa MK3, or how to completely overbuild an Octopi setup.
stability, mobility, presentability, reliability, adaptability, dust-abatement-ility…
A few of the reasons I held to when I built my printer enclosure. With the primary one being -

So, how it turn out?


Pretty well, I’d say.
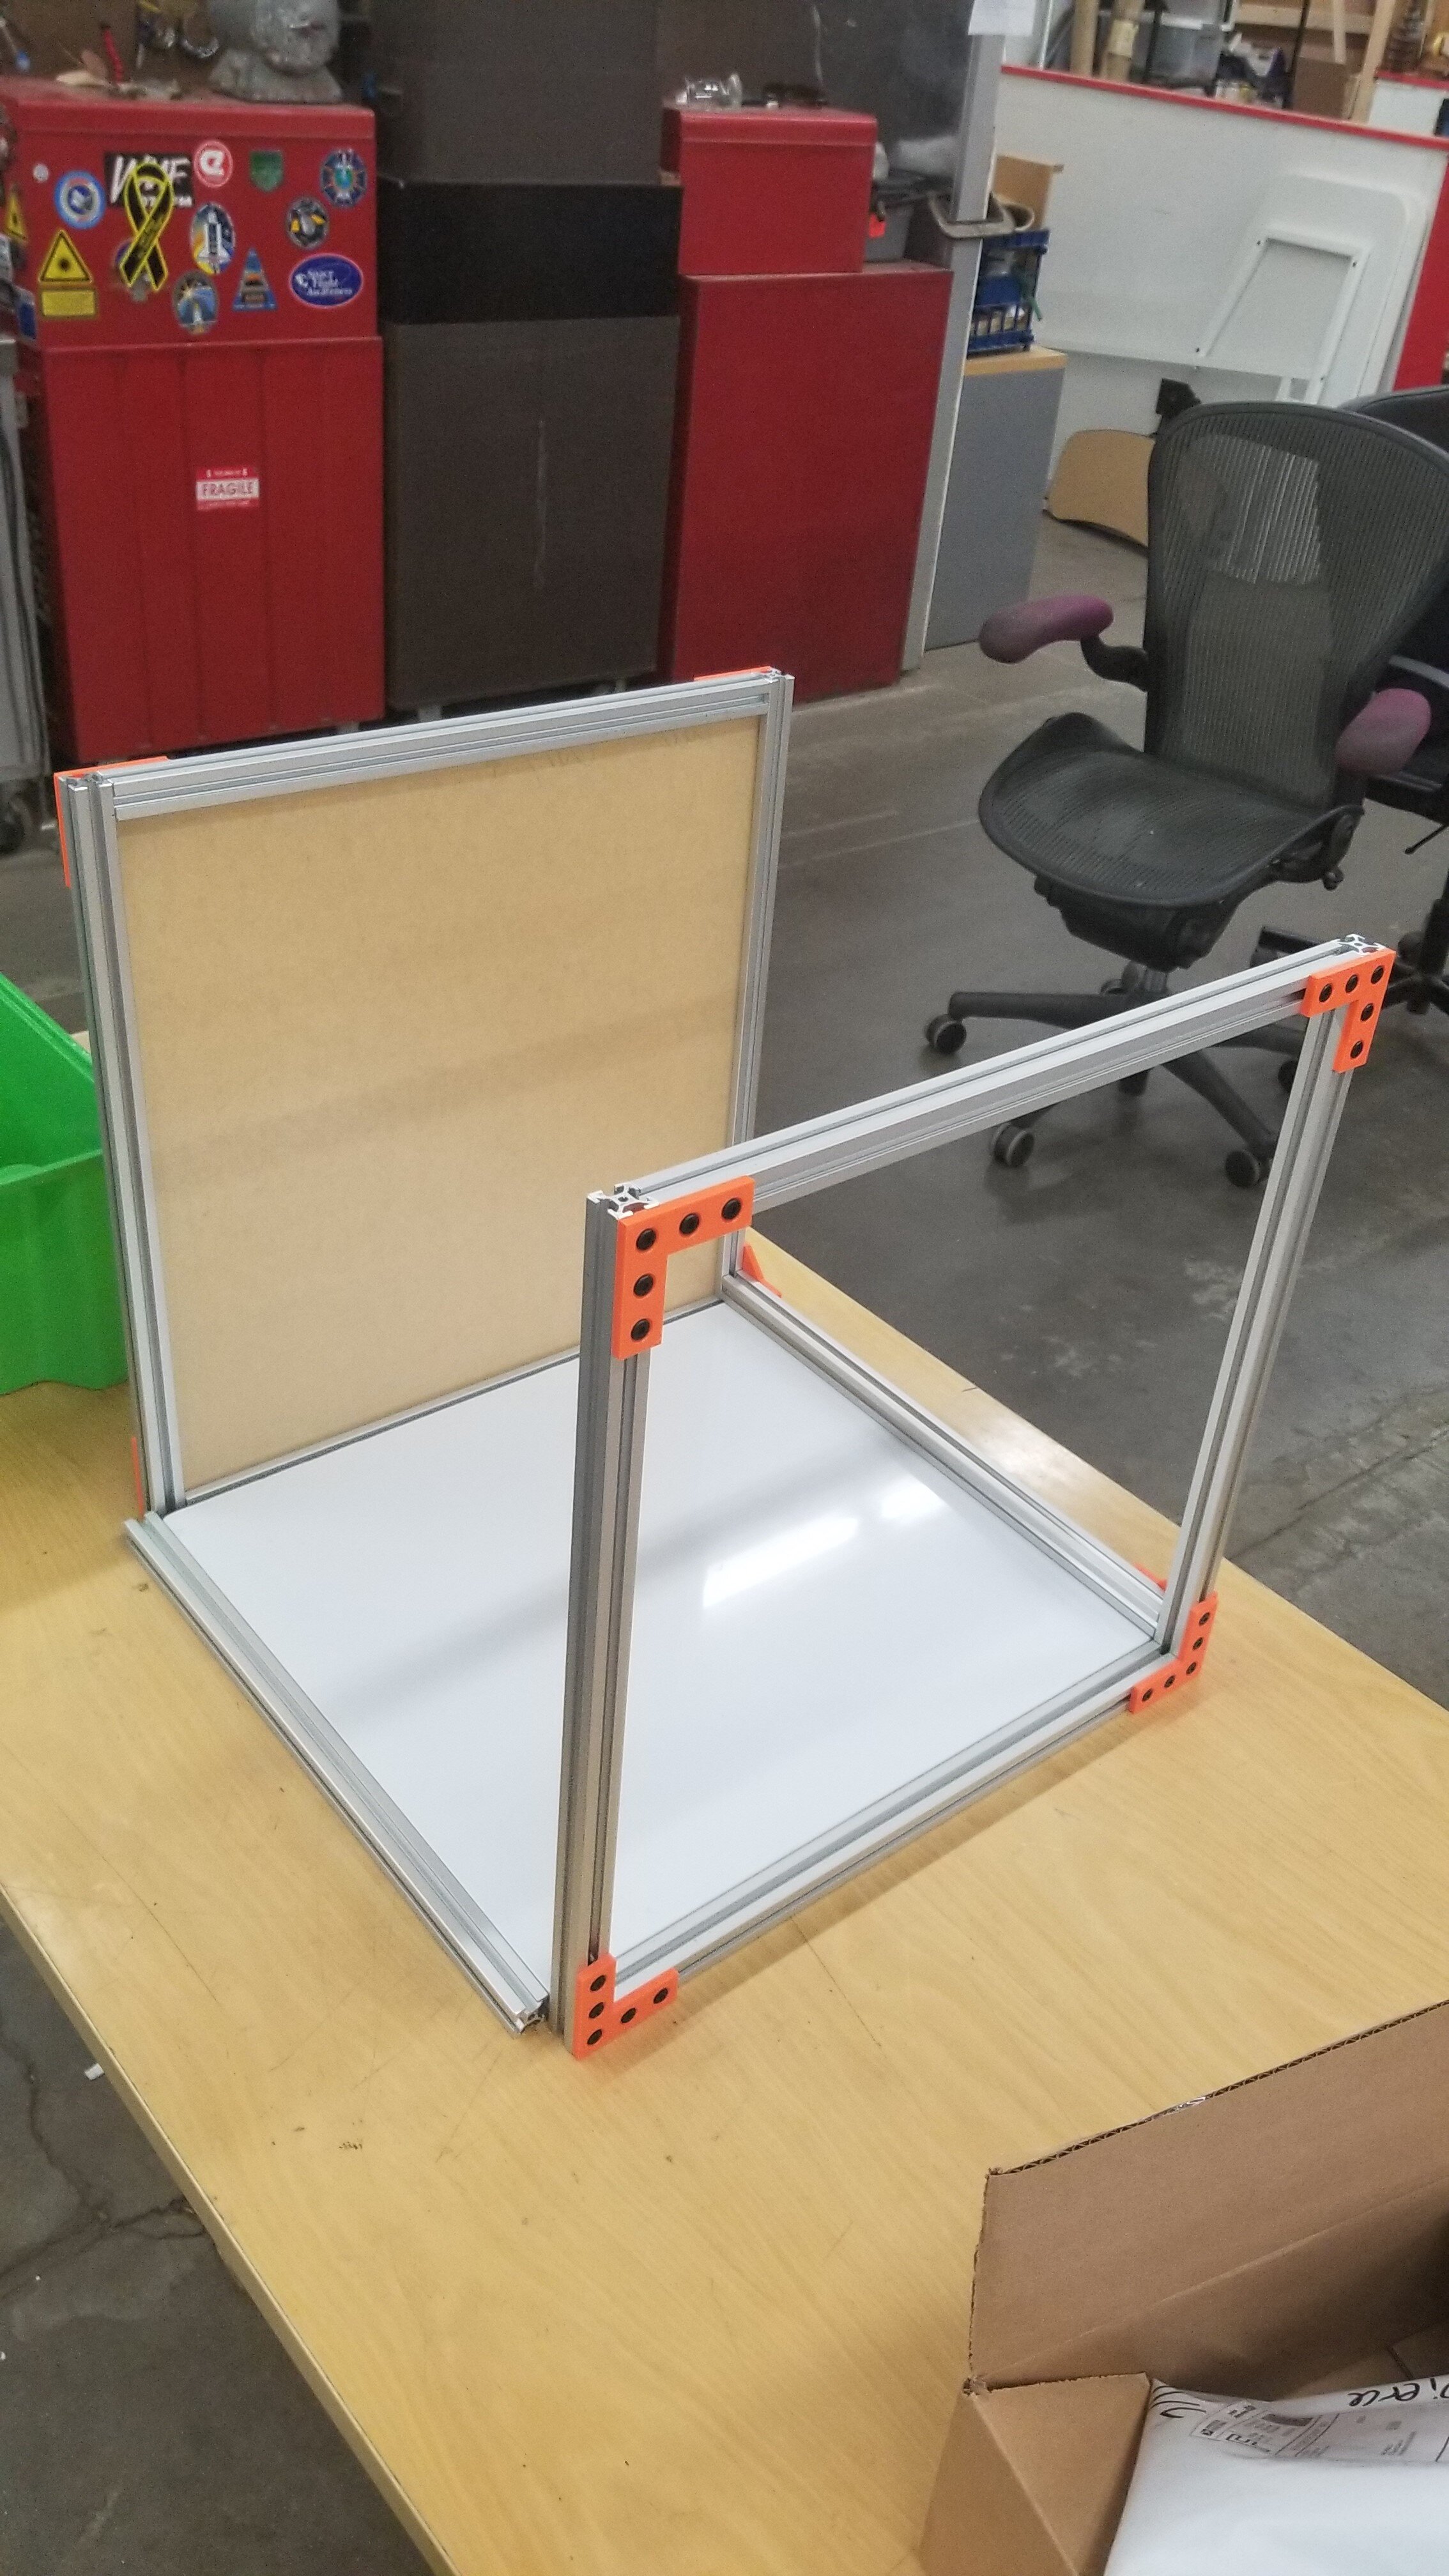
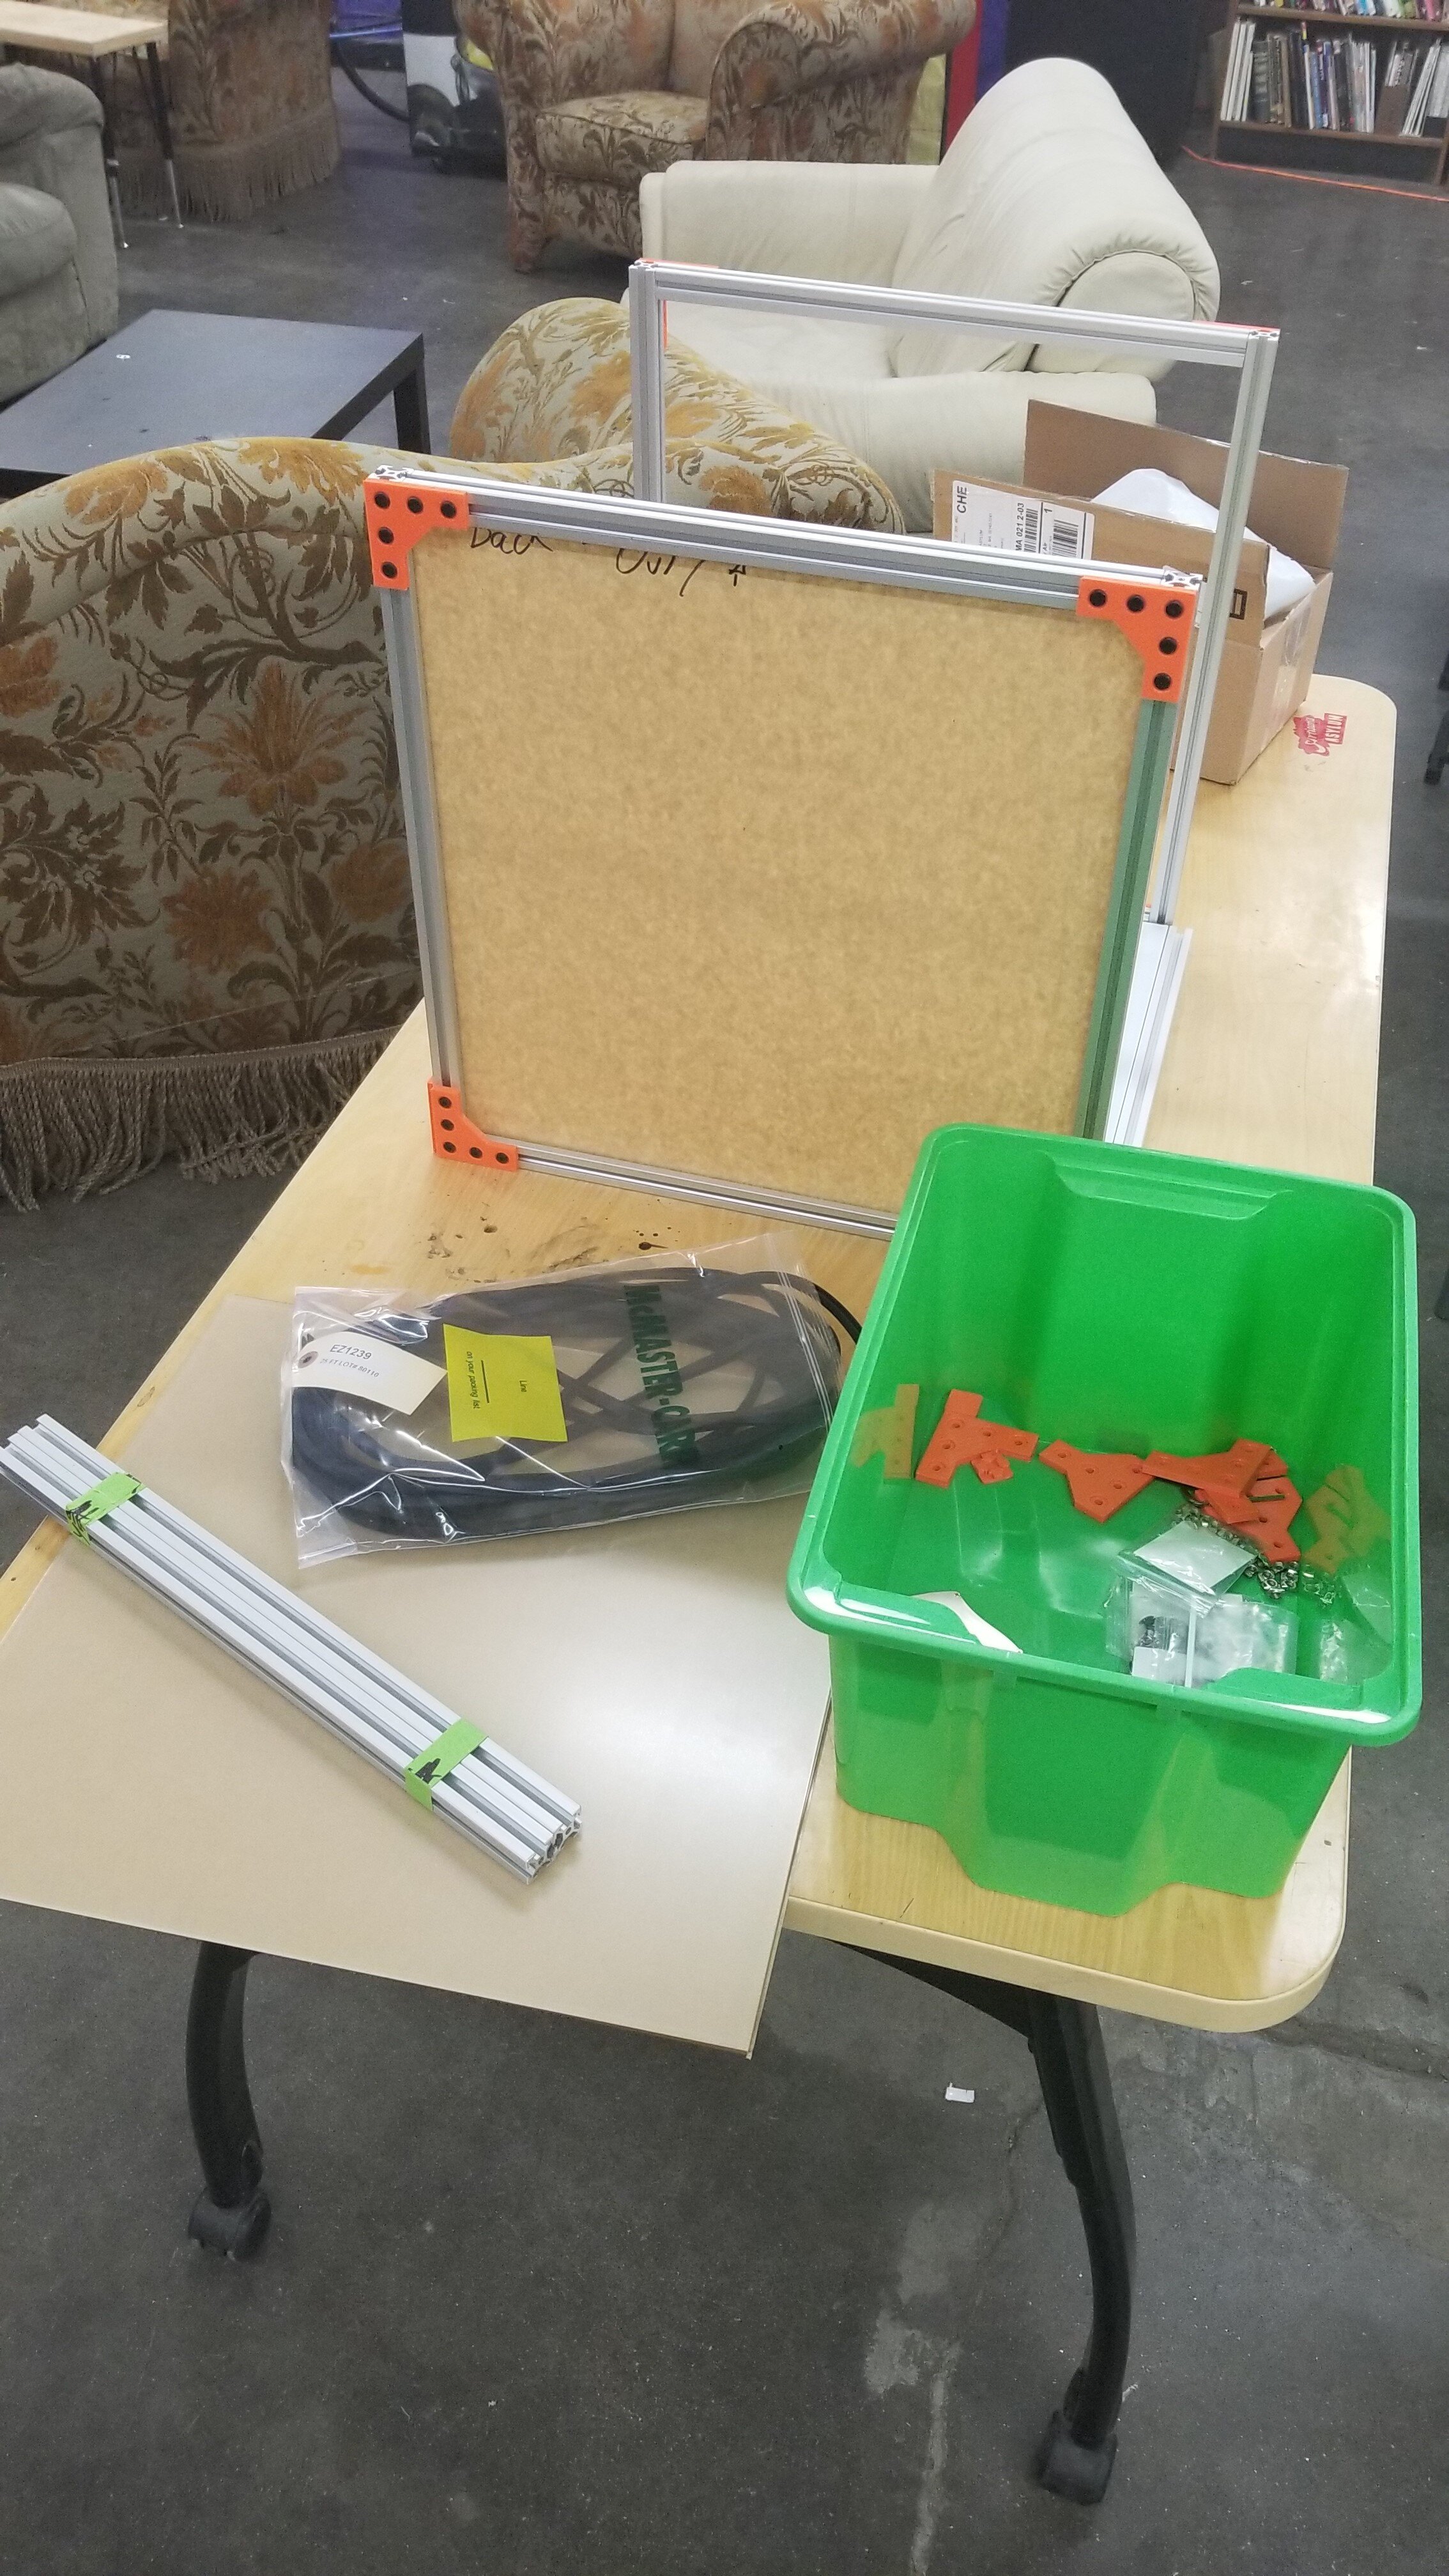
A while back I’d made the original enclosure for my printer, which consisted of recycled T-Slot extrusion I got for free and scrap acrylic I re-purposed. Actually making that piece of it was poorly documented by me, so I’ll present the pieces in the blog equivalent of a montage, another photo wall.
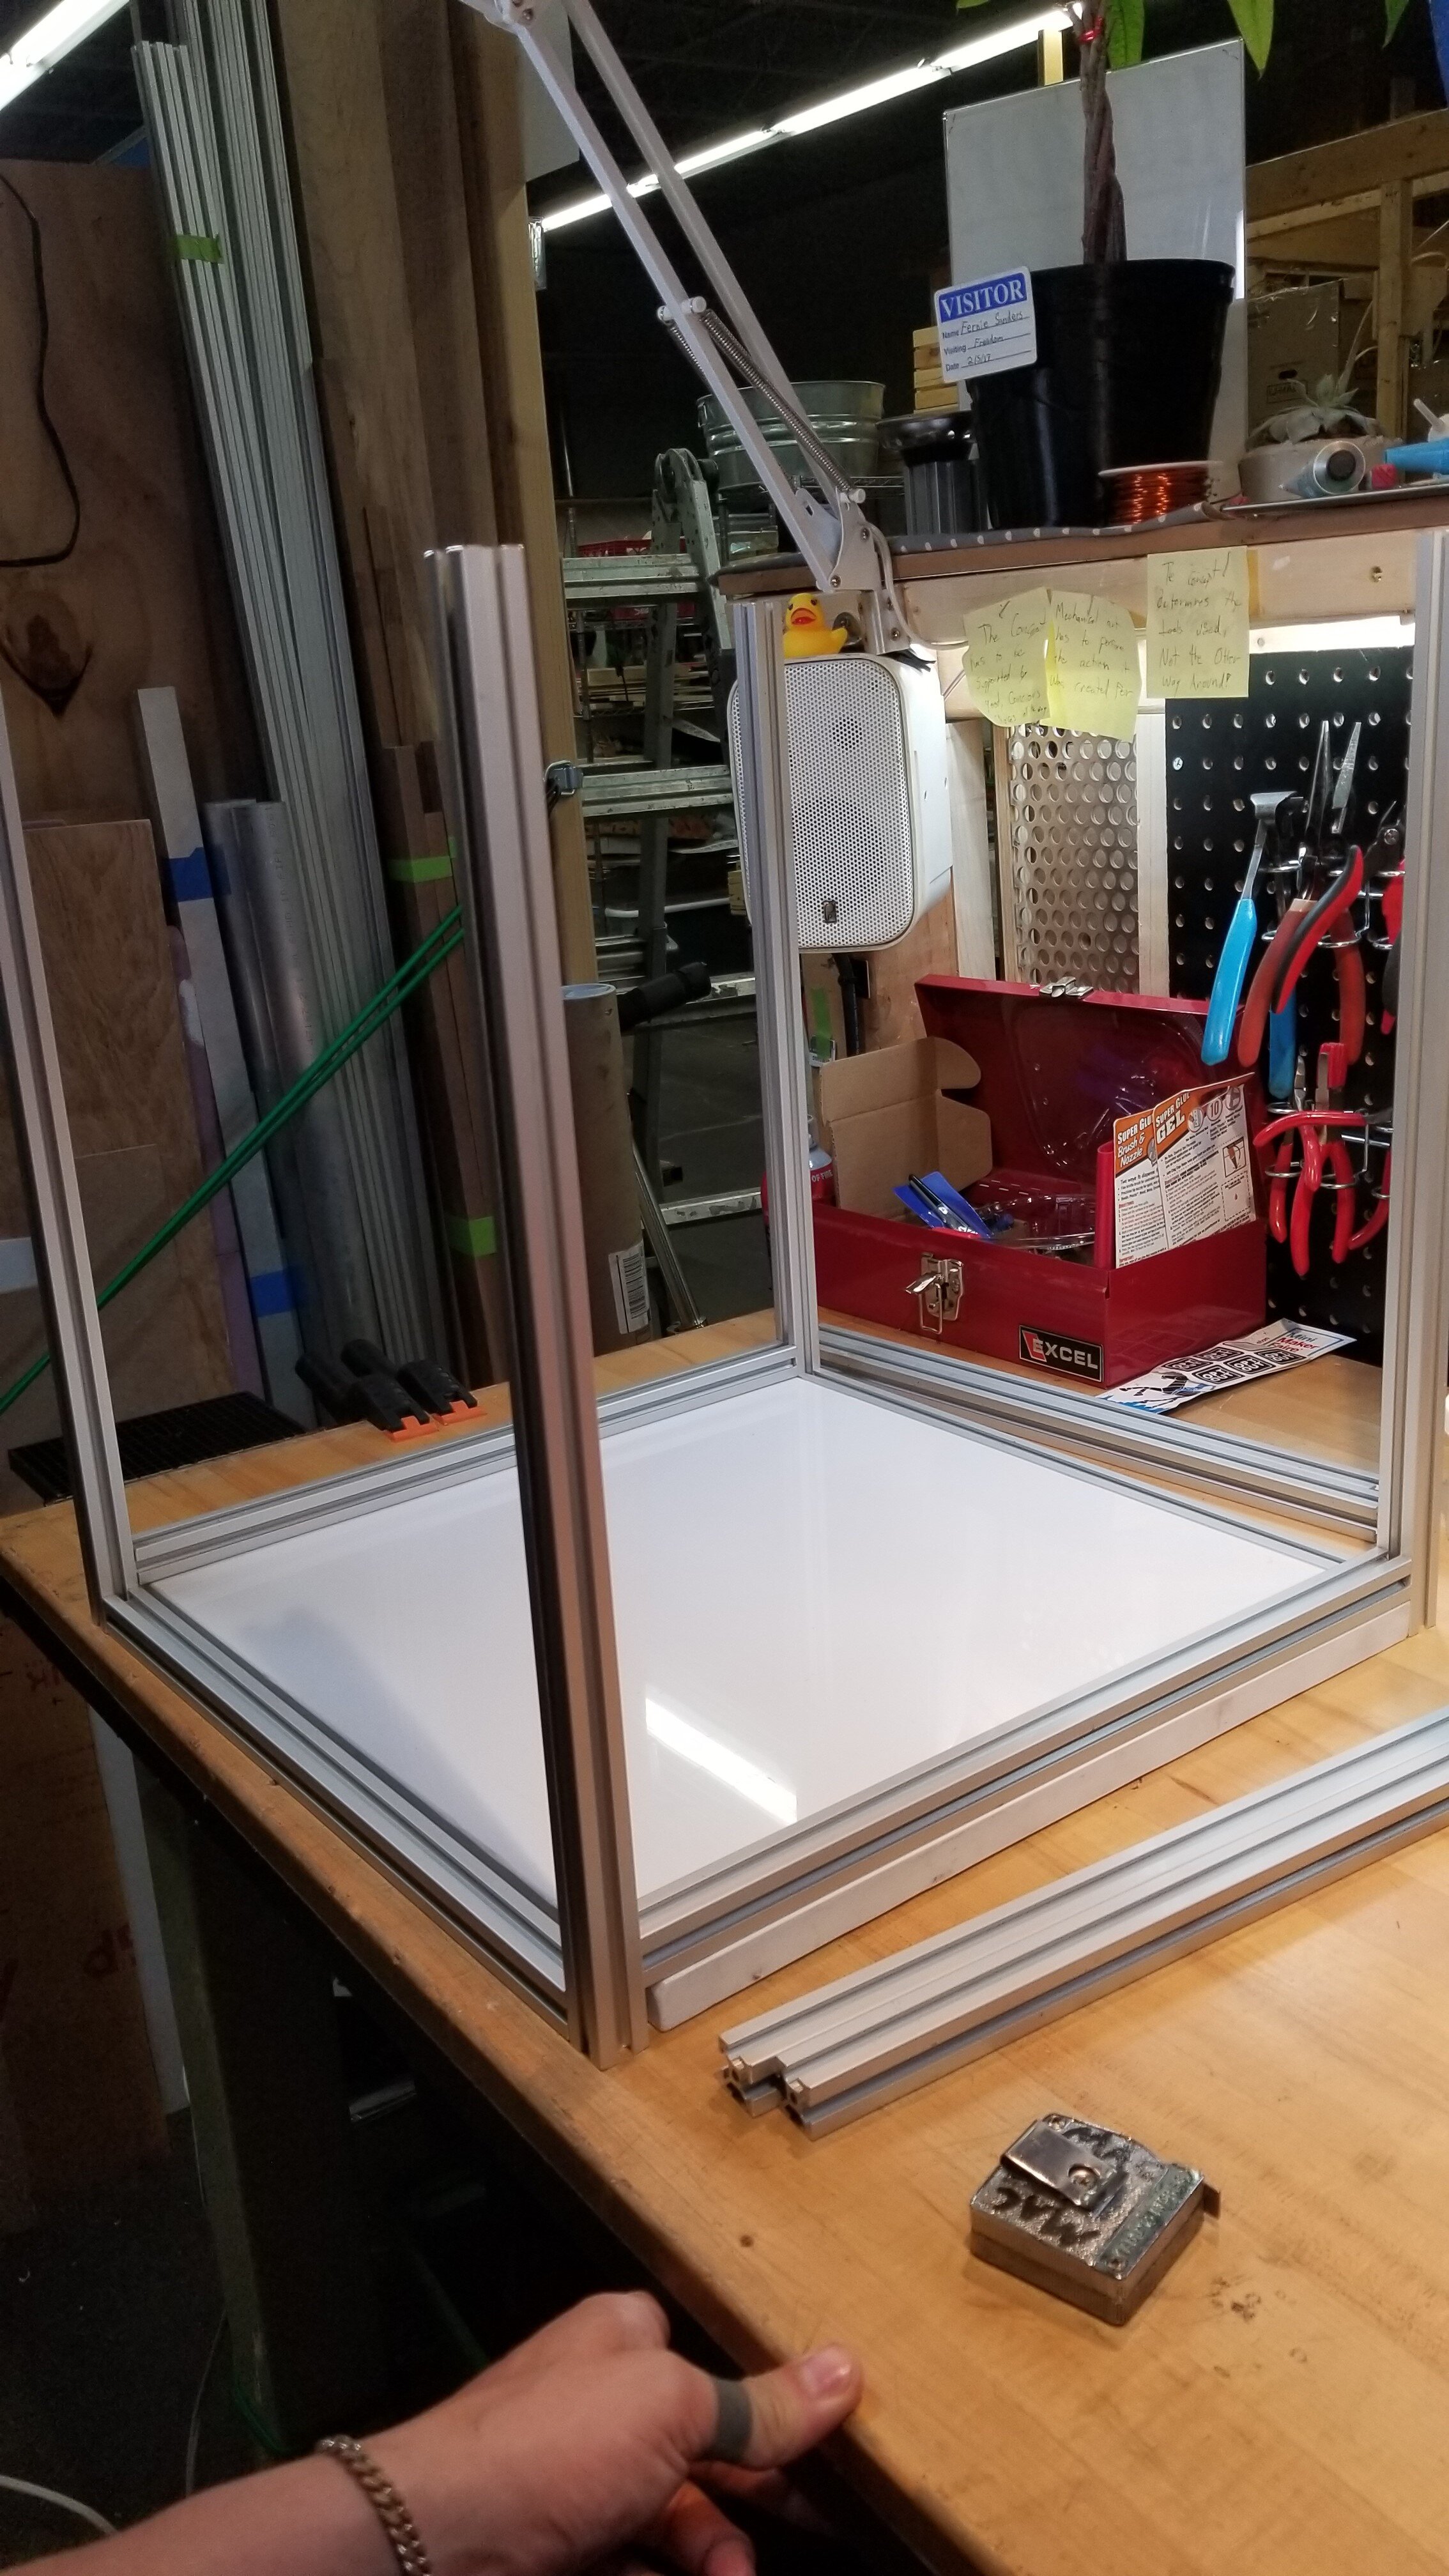
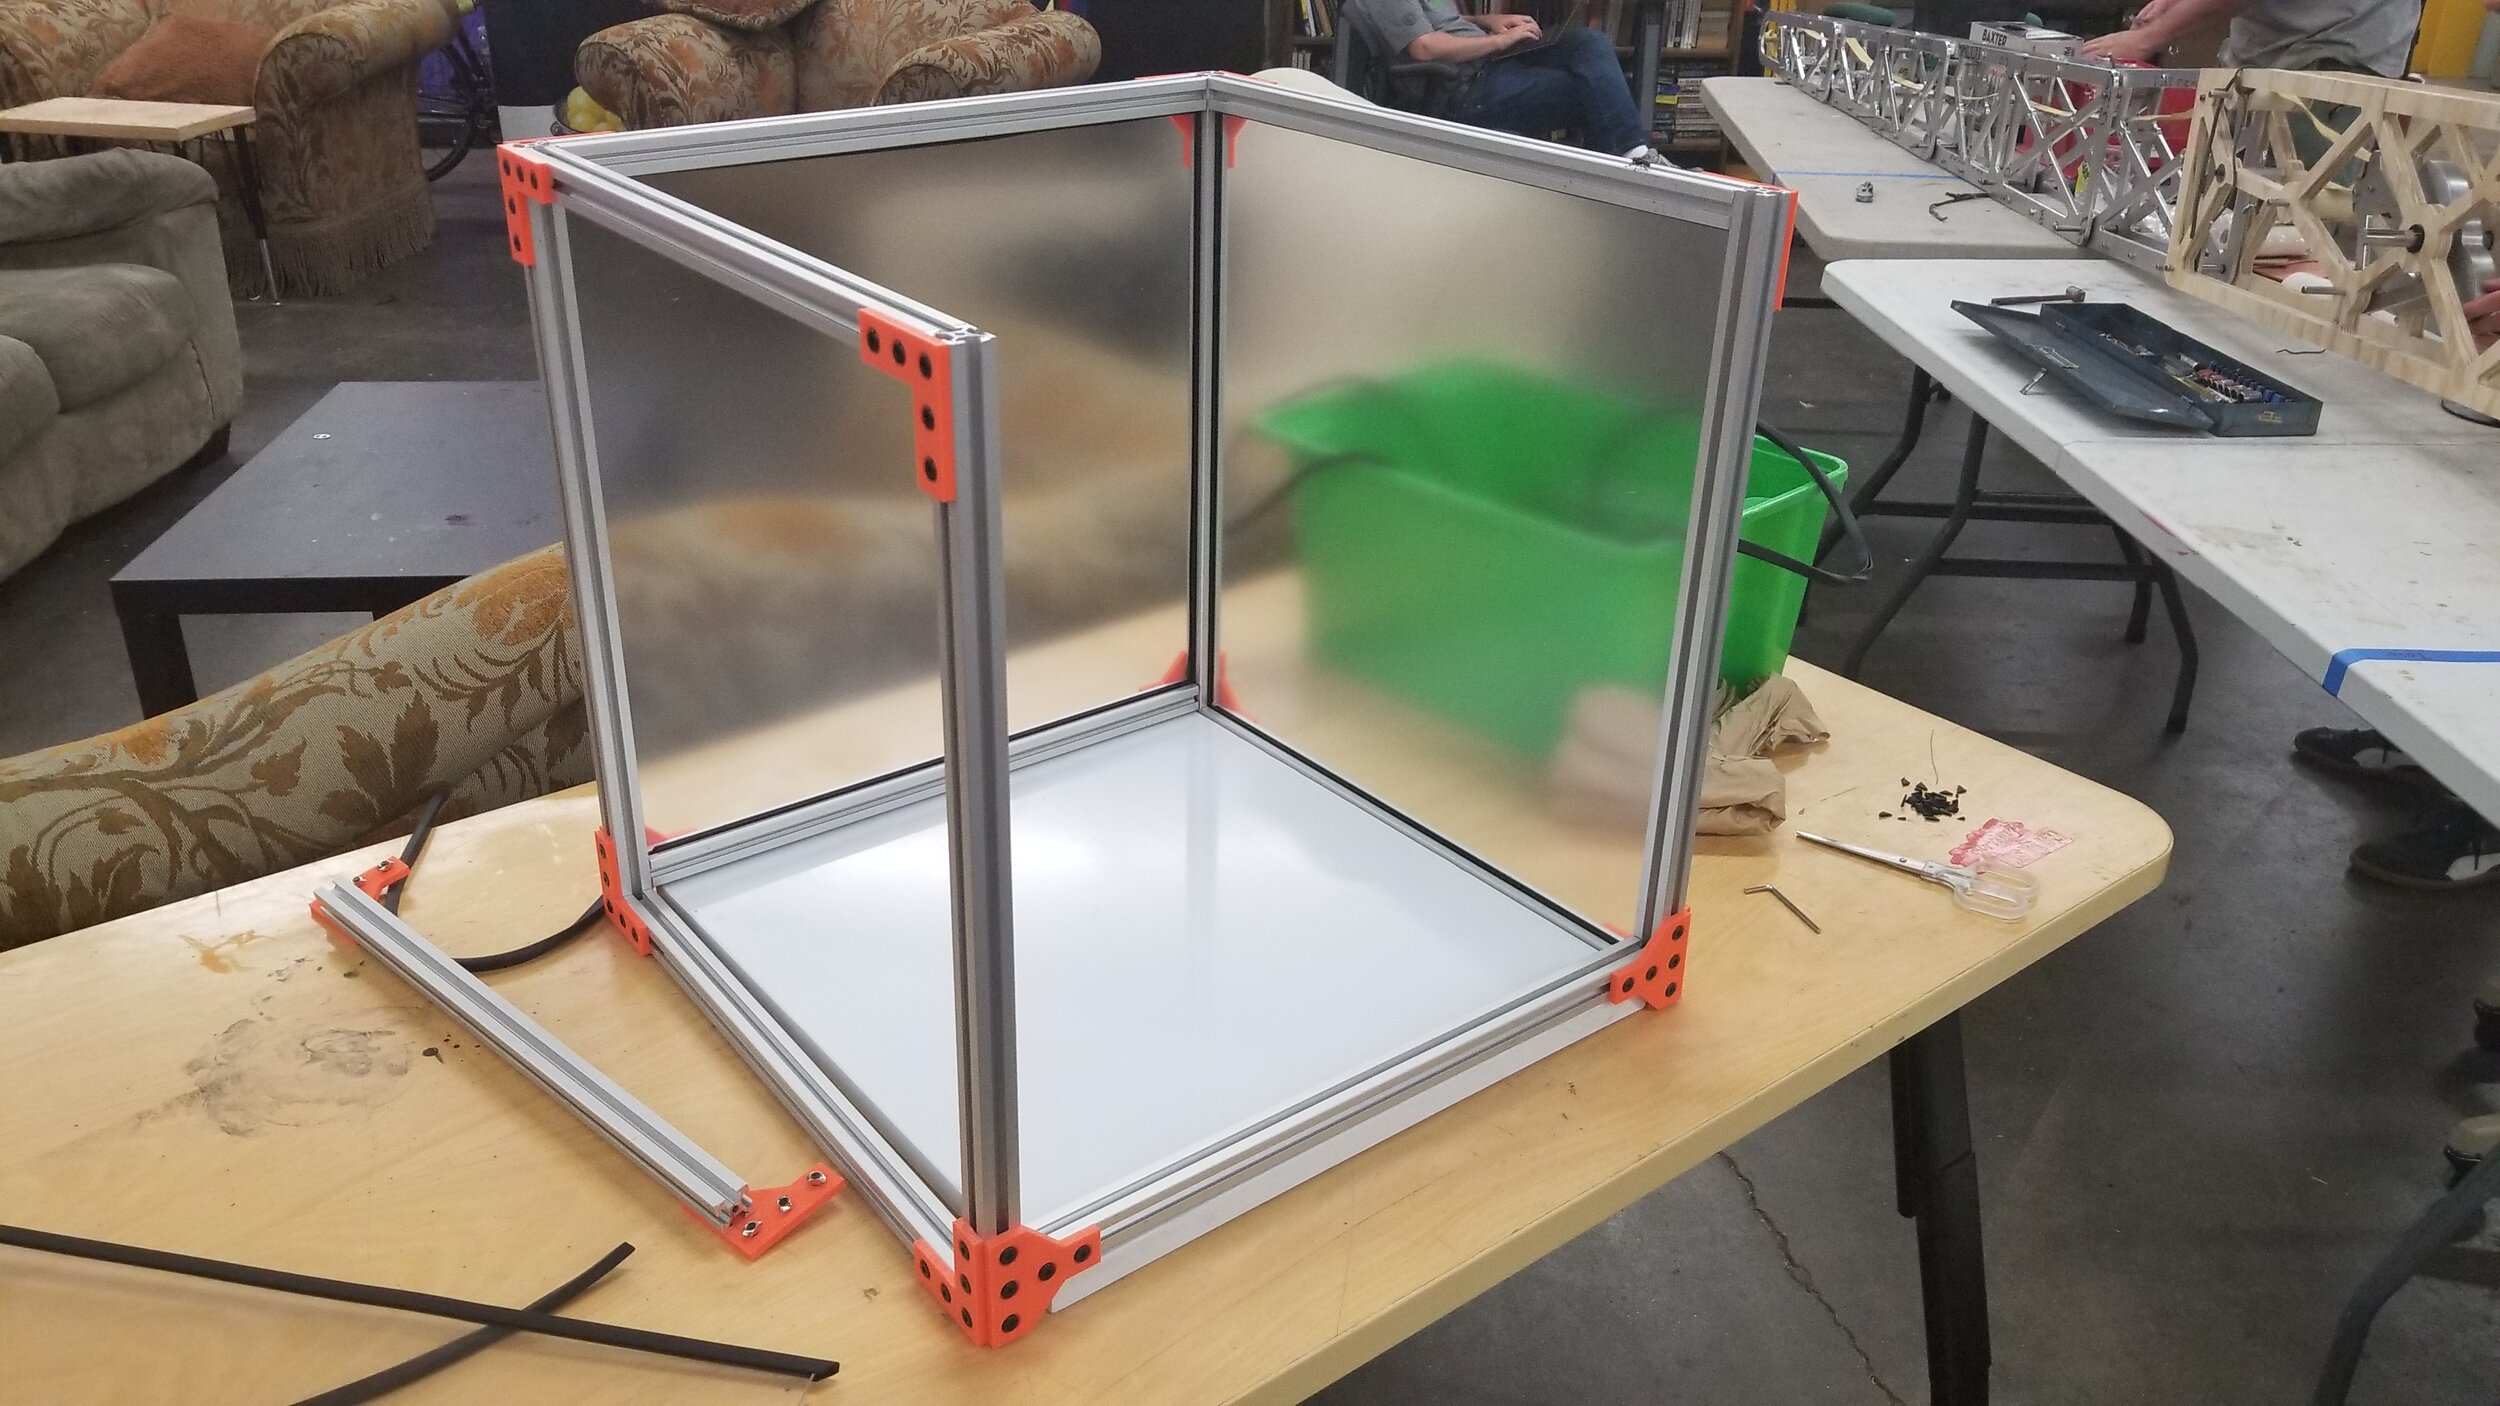
I’d used these pieces off of thingiverse for the 2020 plates printed in PETG, and assembled with drop in t-nuts on m5 screws. Eventually I scrounged up a granite slab and added it under the printer to act as a mass to dampen the vibrations of the printer.

And that was good enough for about 8 months.
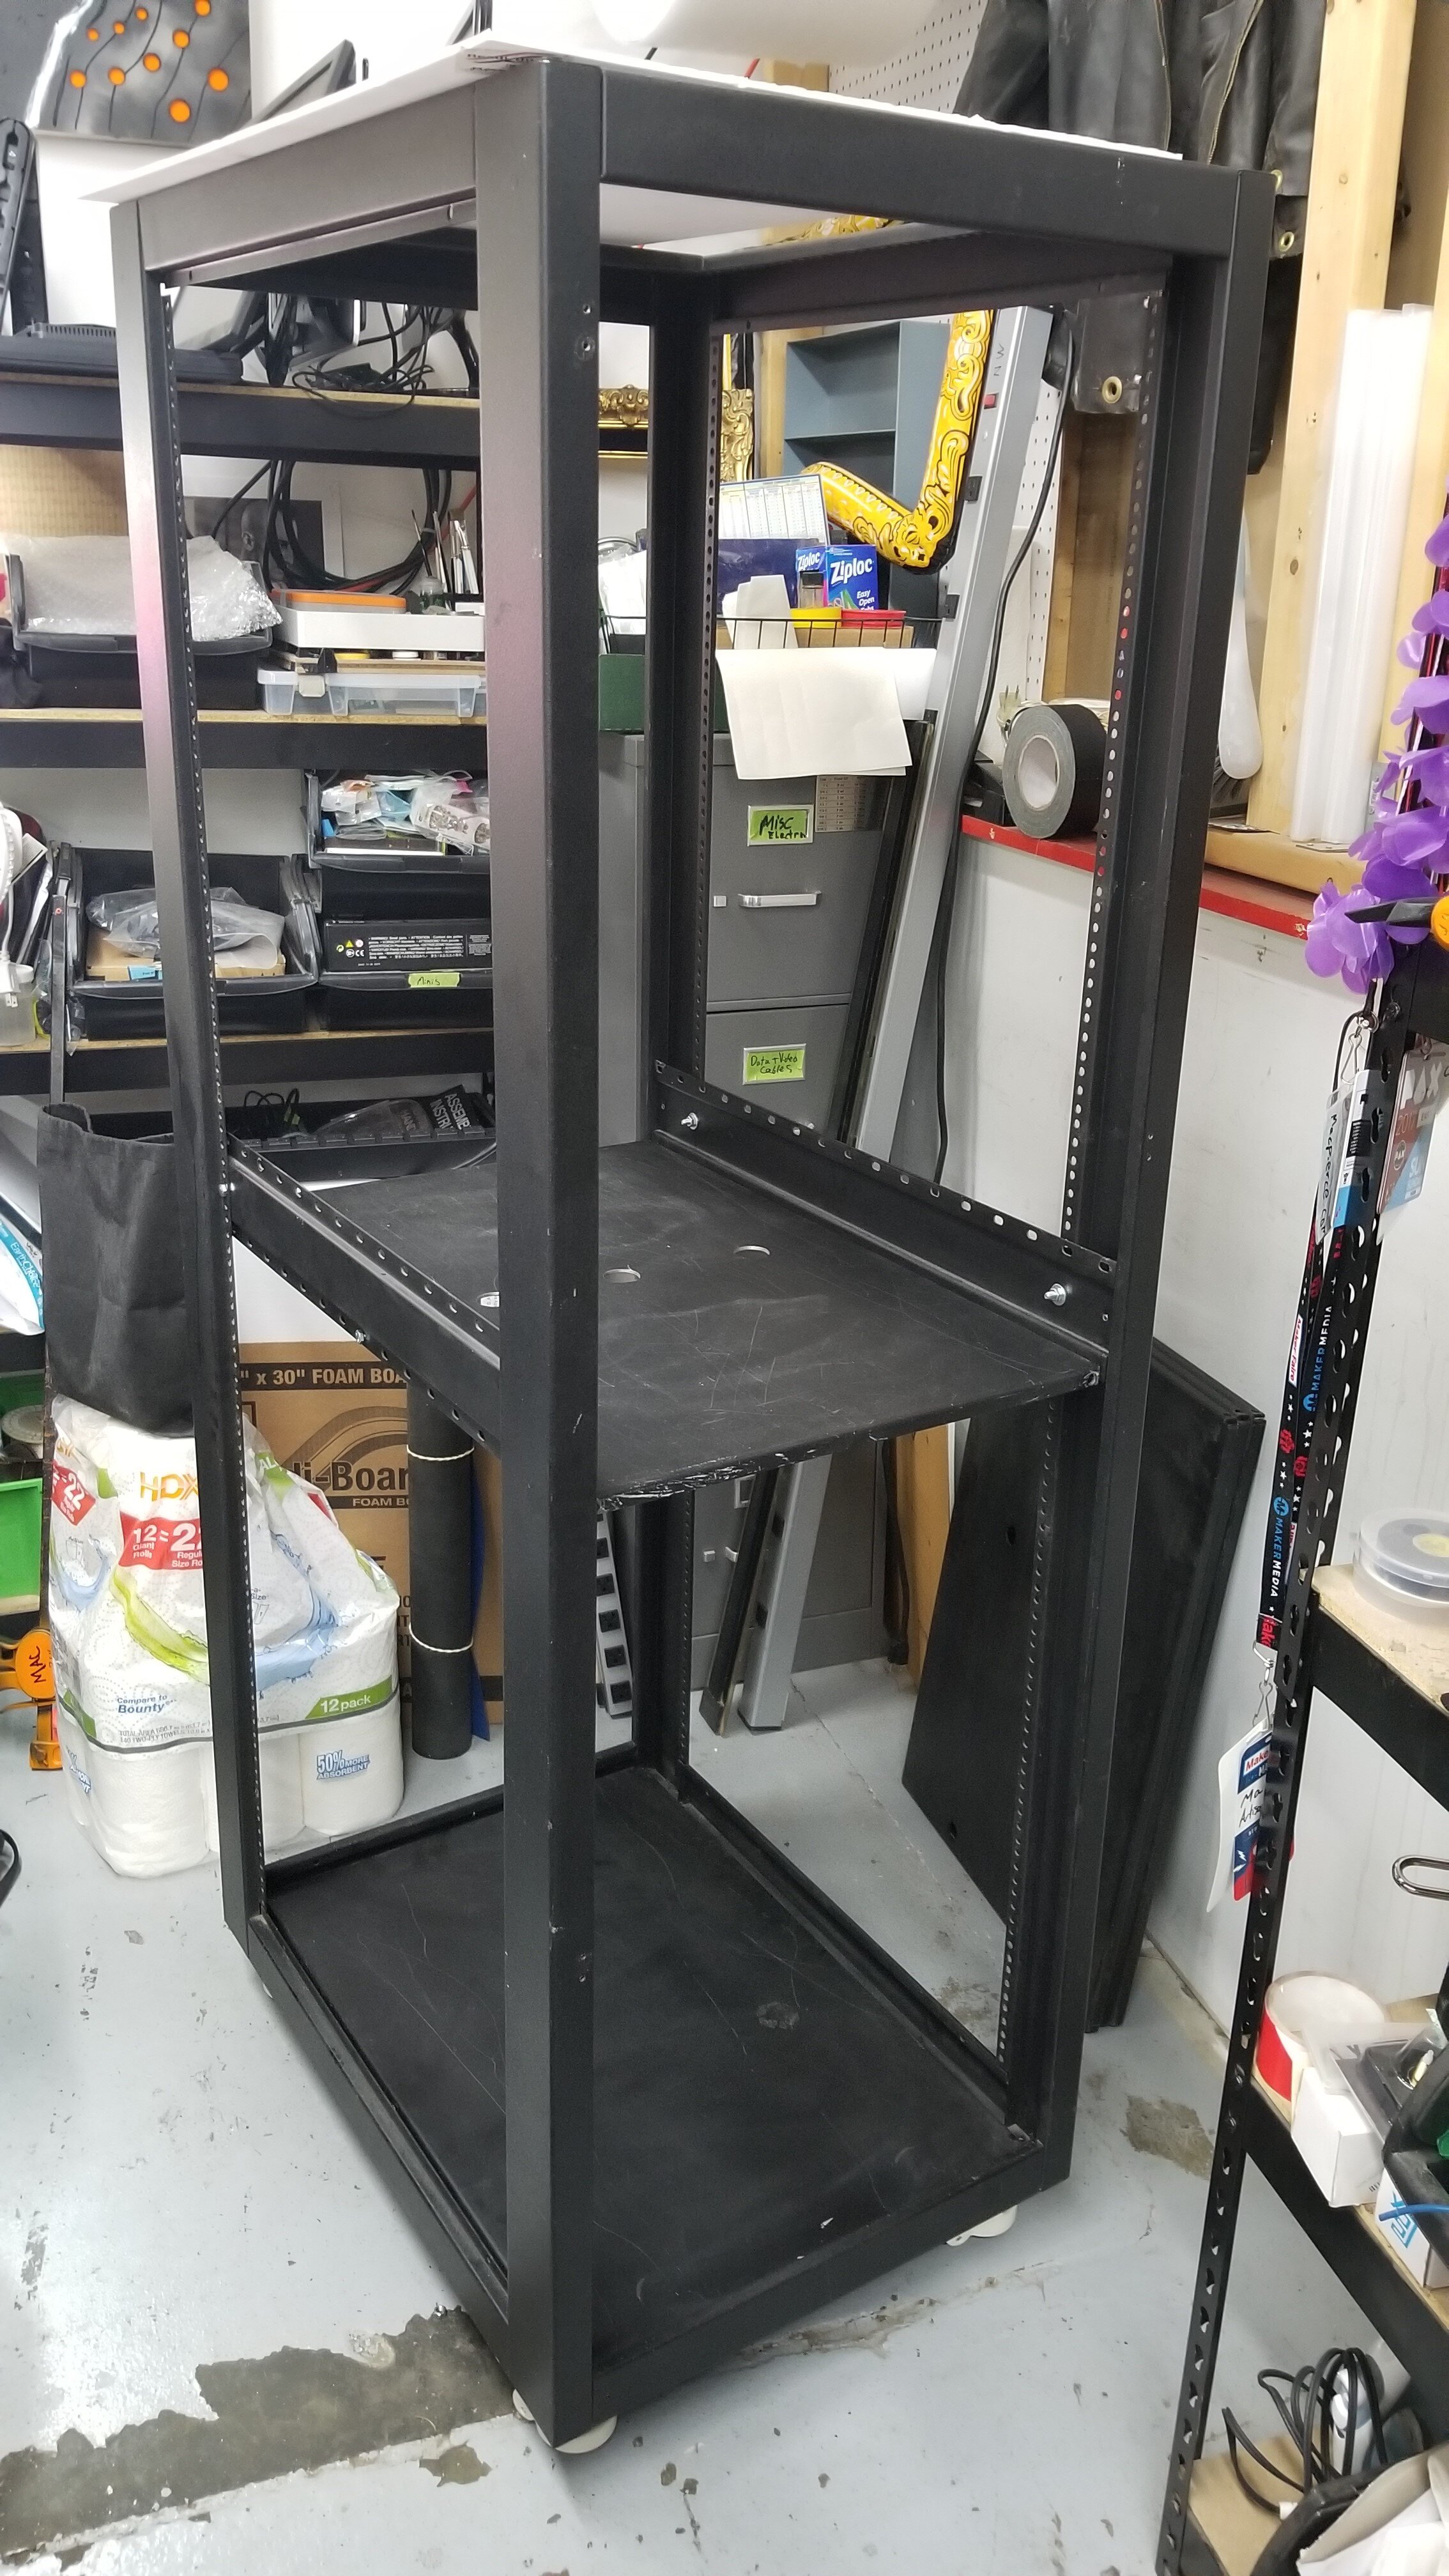
But then I was gifted an old server rack…

Which had previously been used as a shelf to hold paints, thus the dust and shmutz.
So of course I had to use it. I drew up a few sketches and got to work. First off was making it mobile. It had originally been connected to the lower caster pedestal which came off in short order. After a bit of digging I found a source of some cheap(er) leveling casters, and bolted them to the base. Overkill? Oh yeah.

Neat-O.
Next up was attaching a shelf and re-sizing the granite. For the editing of the dimensions on the granite slab, I looked into a variety of methods. Renting a wet saw looked to be the best option, but that would require renting the saw and buying the blade for what was likely a one-time use ($~150). Another option was to take the slab to a local granite shop and ask them to cut it, which after a few calls turned out to be impractical given the night hours I had to work on this. The method I ended up using was buying a 4.5” diamond blade for my angle grinder. This worked well but I’d not suggest this unless you know what you’re doing, as granite dust is no joke and there’s no good way to manage an angle grinder and try to abate dust at the same time. That said, the diamond blade treated that granite like it said something nasty about it’s mother, and absolutely demolished the task of taking the slab down to size.

And with that all set, next up came the wiring.
Oh, the wiring.

BIG OL DISCLAIMER - Only wire mains if you know what you’re doing, it can hurt/maim/kill you. take it from me, who as a child did actually stick a fork in an outlet.
Of note - All additional components DIN rail mounted, incorporating a breaker (bumped down to 10 amp), controlled outlets, a full Flex ATX PSU for accessories, a Raspberry PI 4 for Octo-Pi, and a slew of other fun stuff.
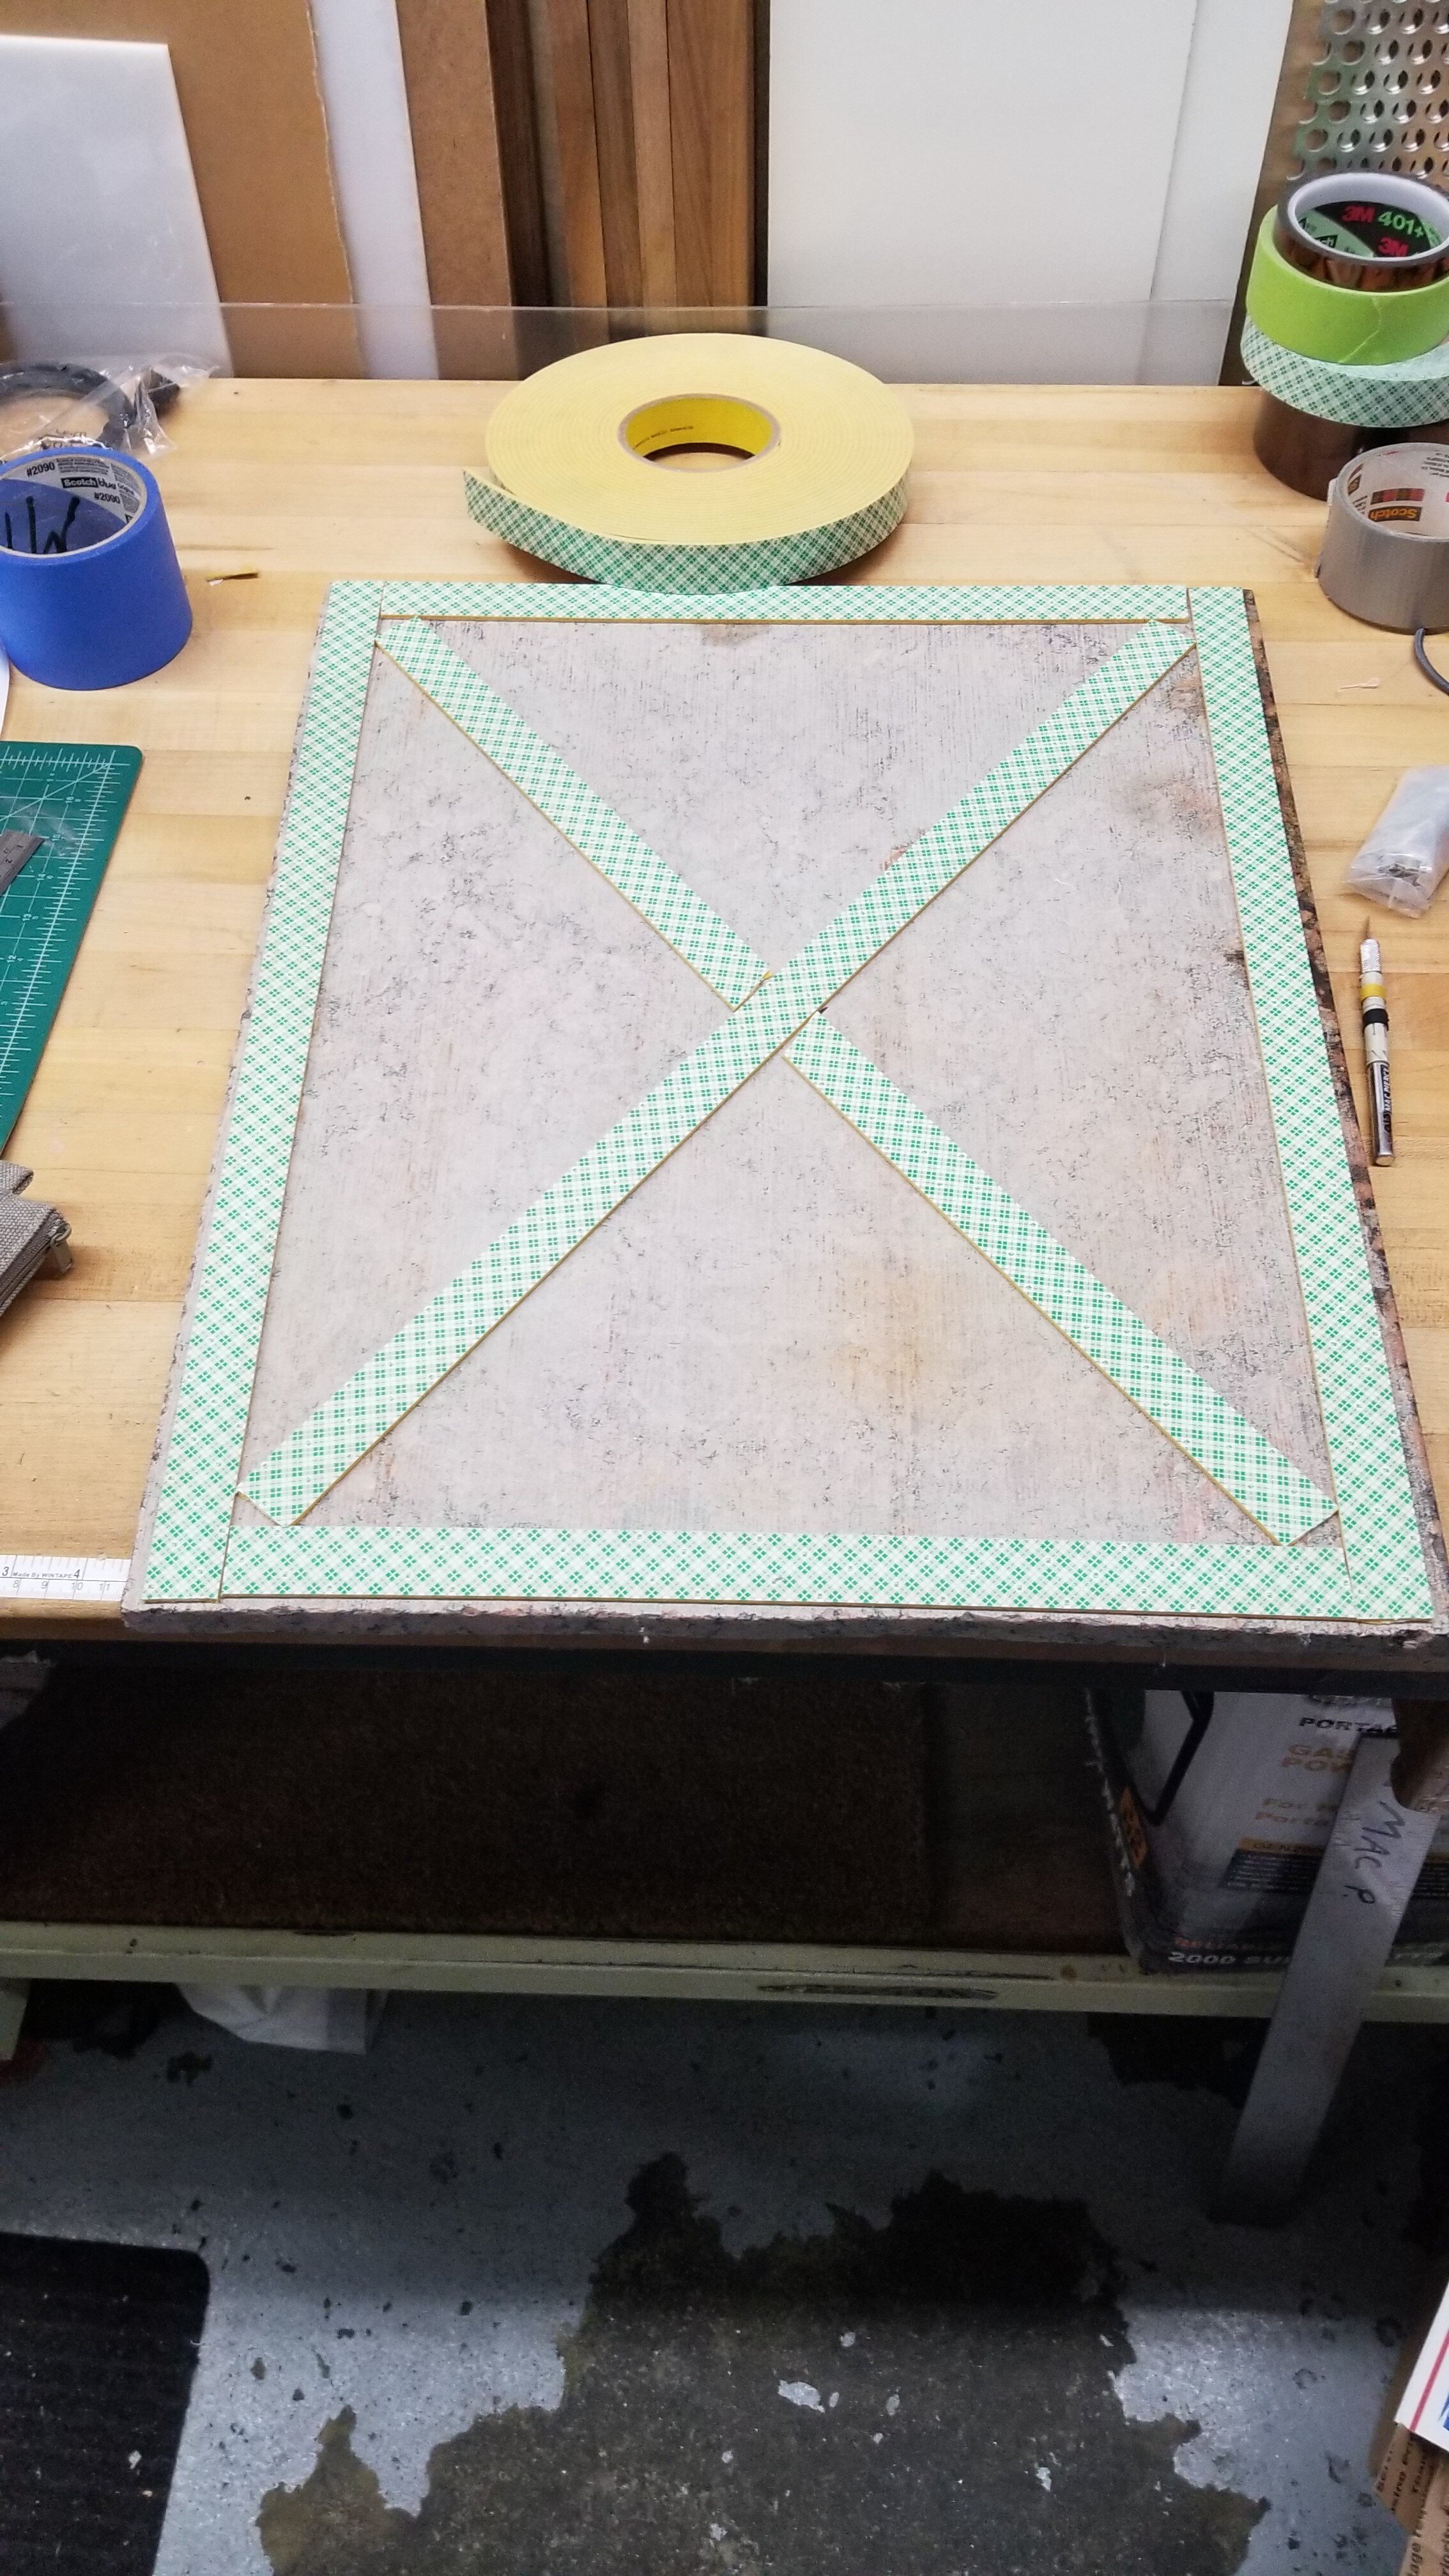
First off was making the mount for the DIN rail to fit into the rack. I sized the MDF to be snug between the verticals.


Next up was populating the rail. Got a batch of components in and got to work wiring.


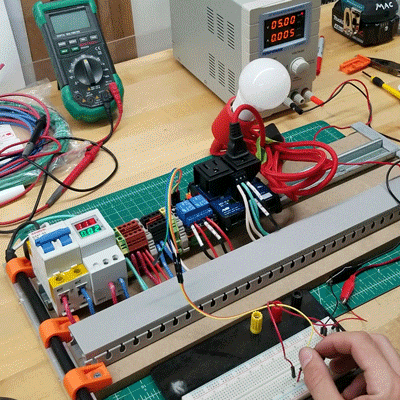
A quick test - Triggering the outlet via 5v dc to the relay
Panduit is to wire management as Bondo is to auto-body work.
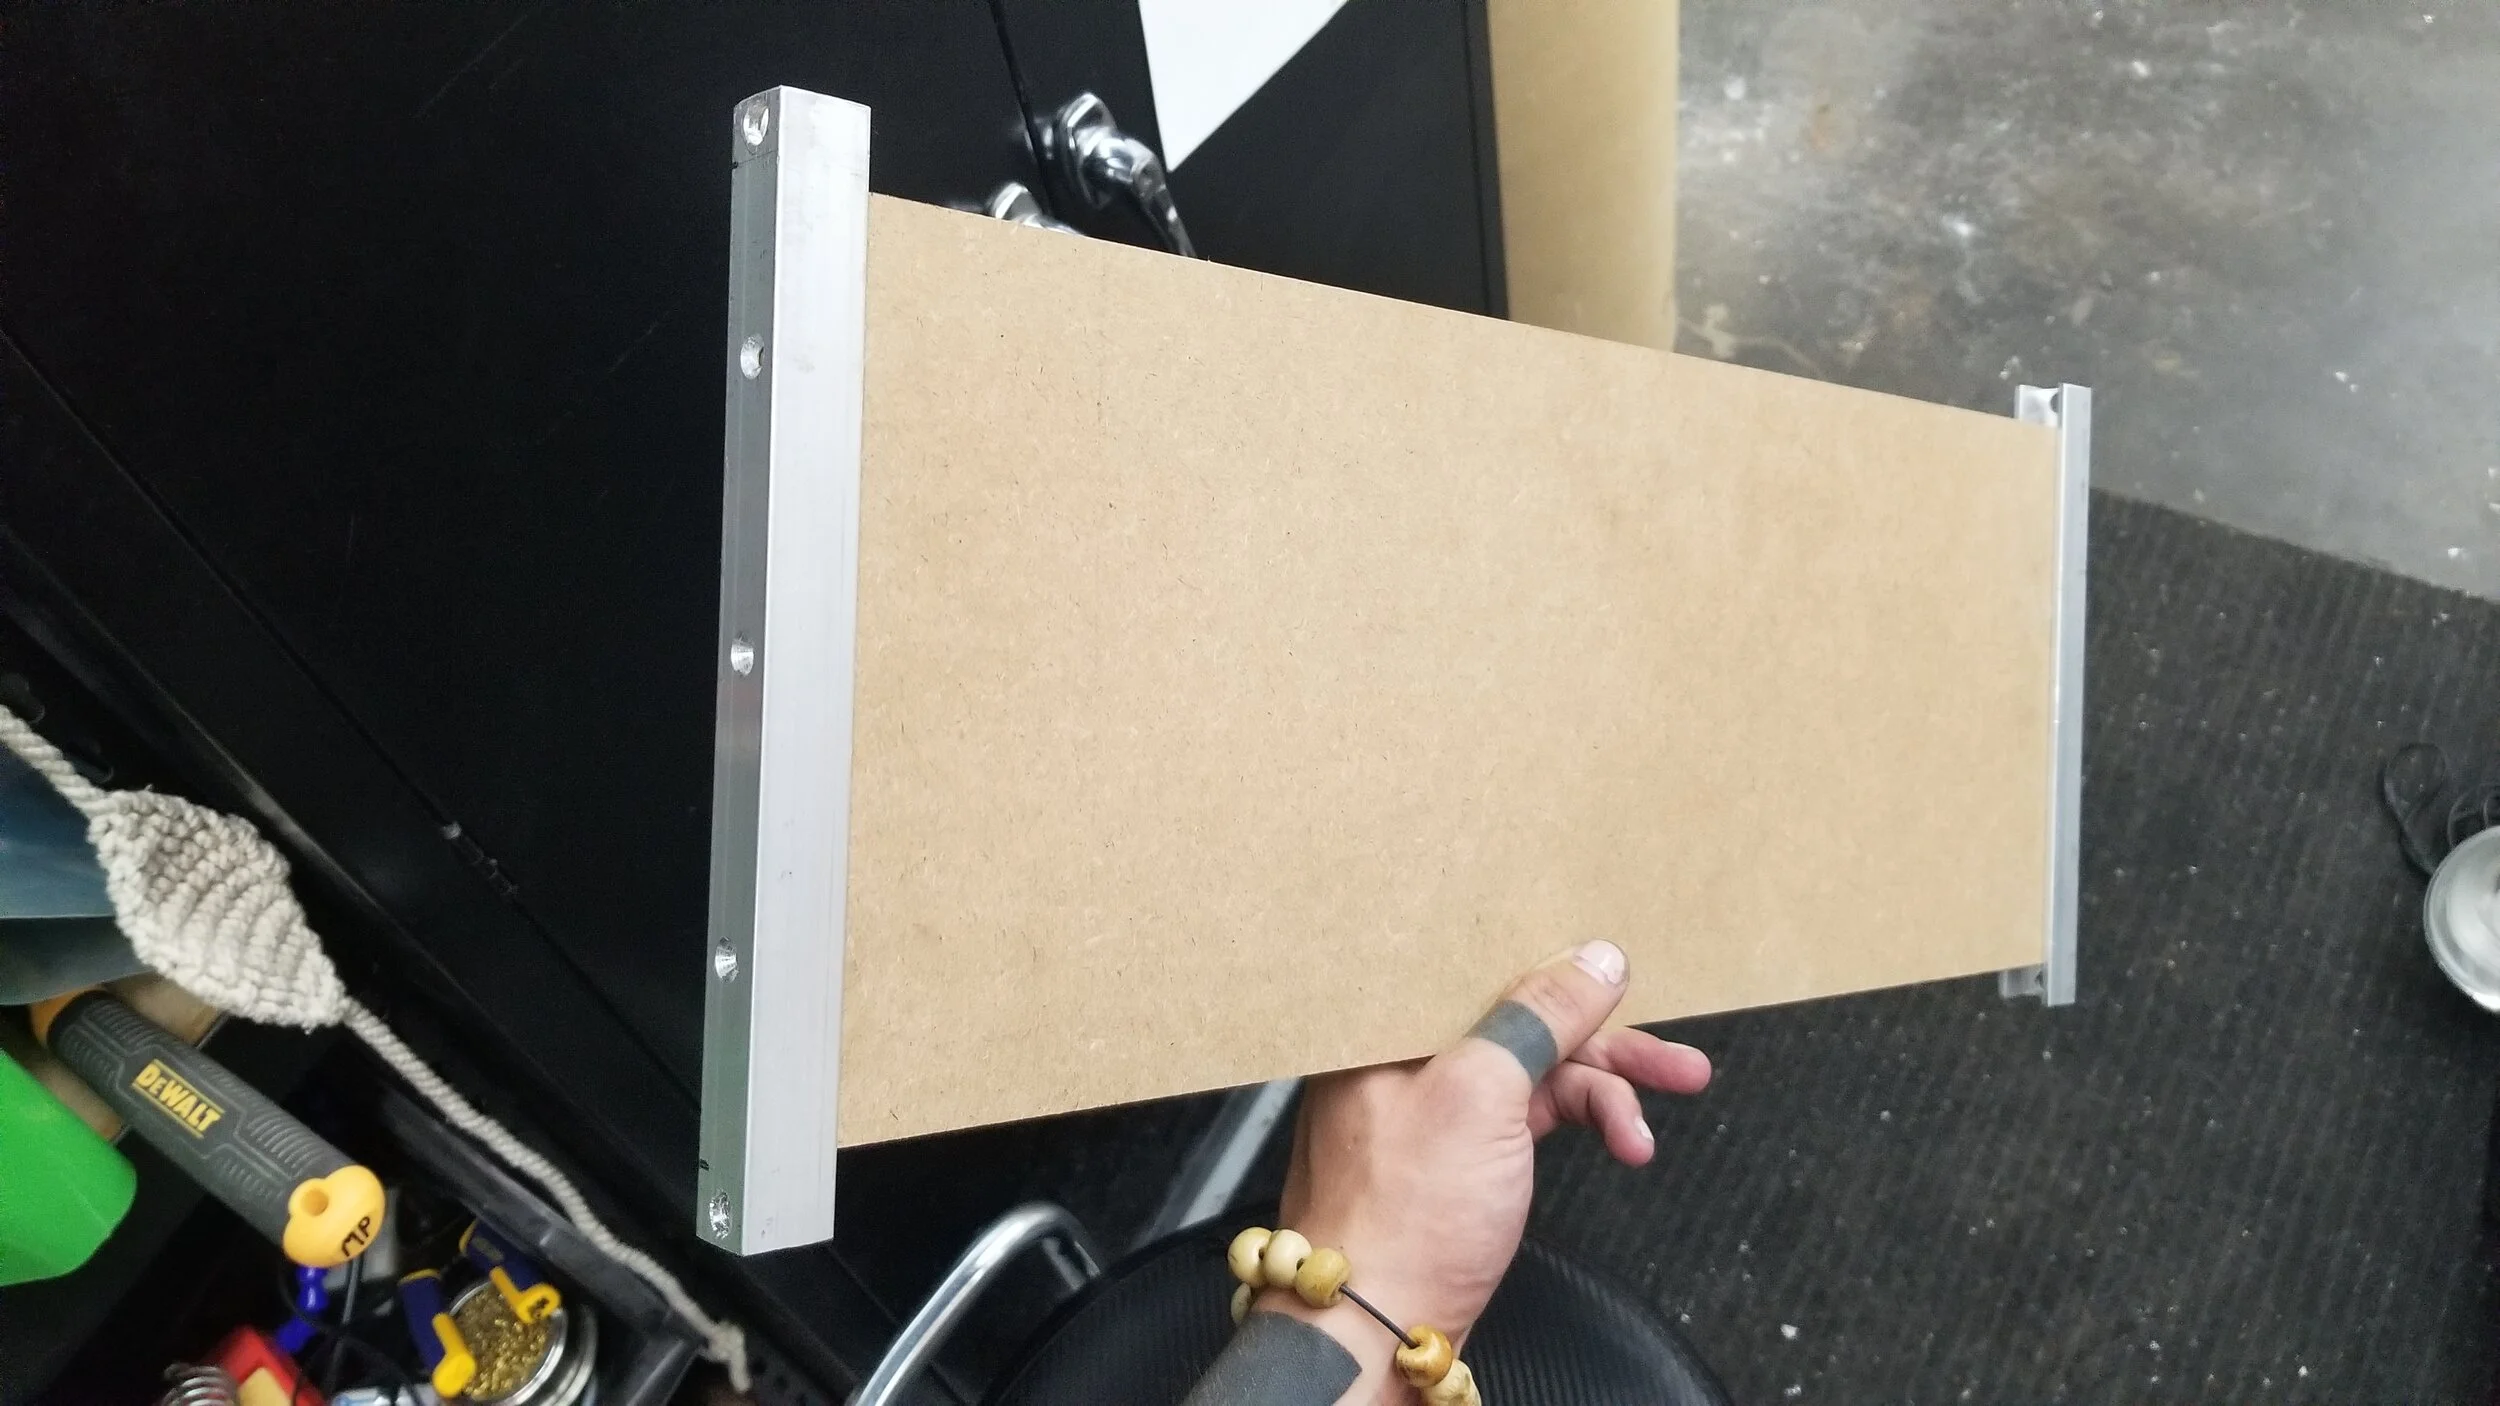
At this point I attached a few more pieces to the low-voltage side of the rail - including a Raspberry Pi 4.- and to the back of the MDF where space wasn’t available.


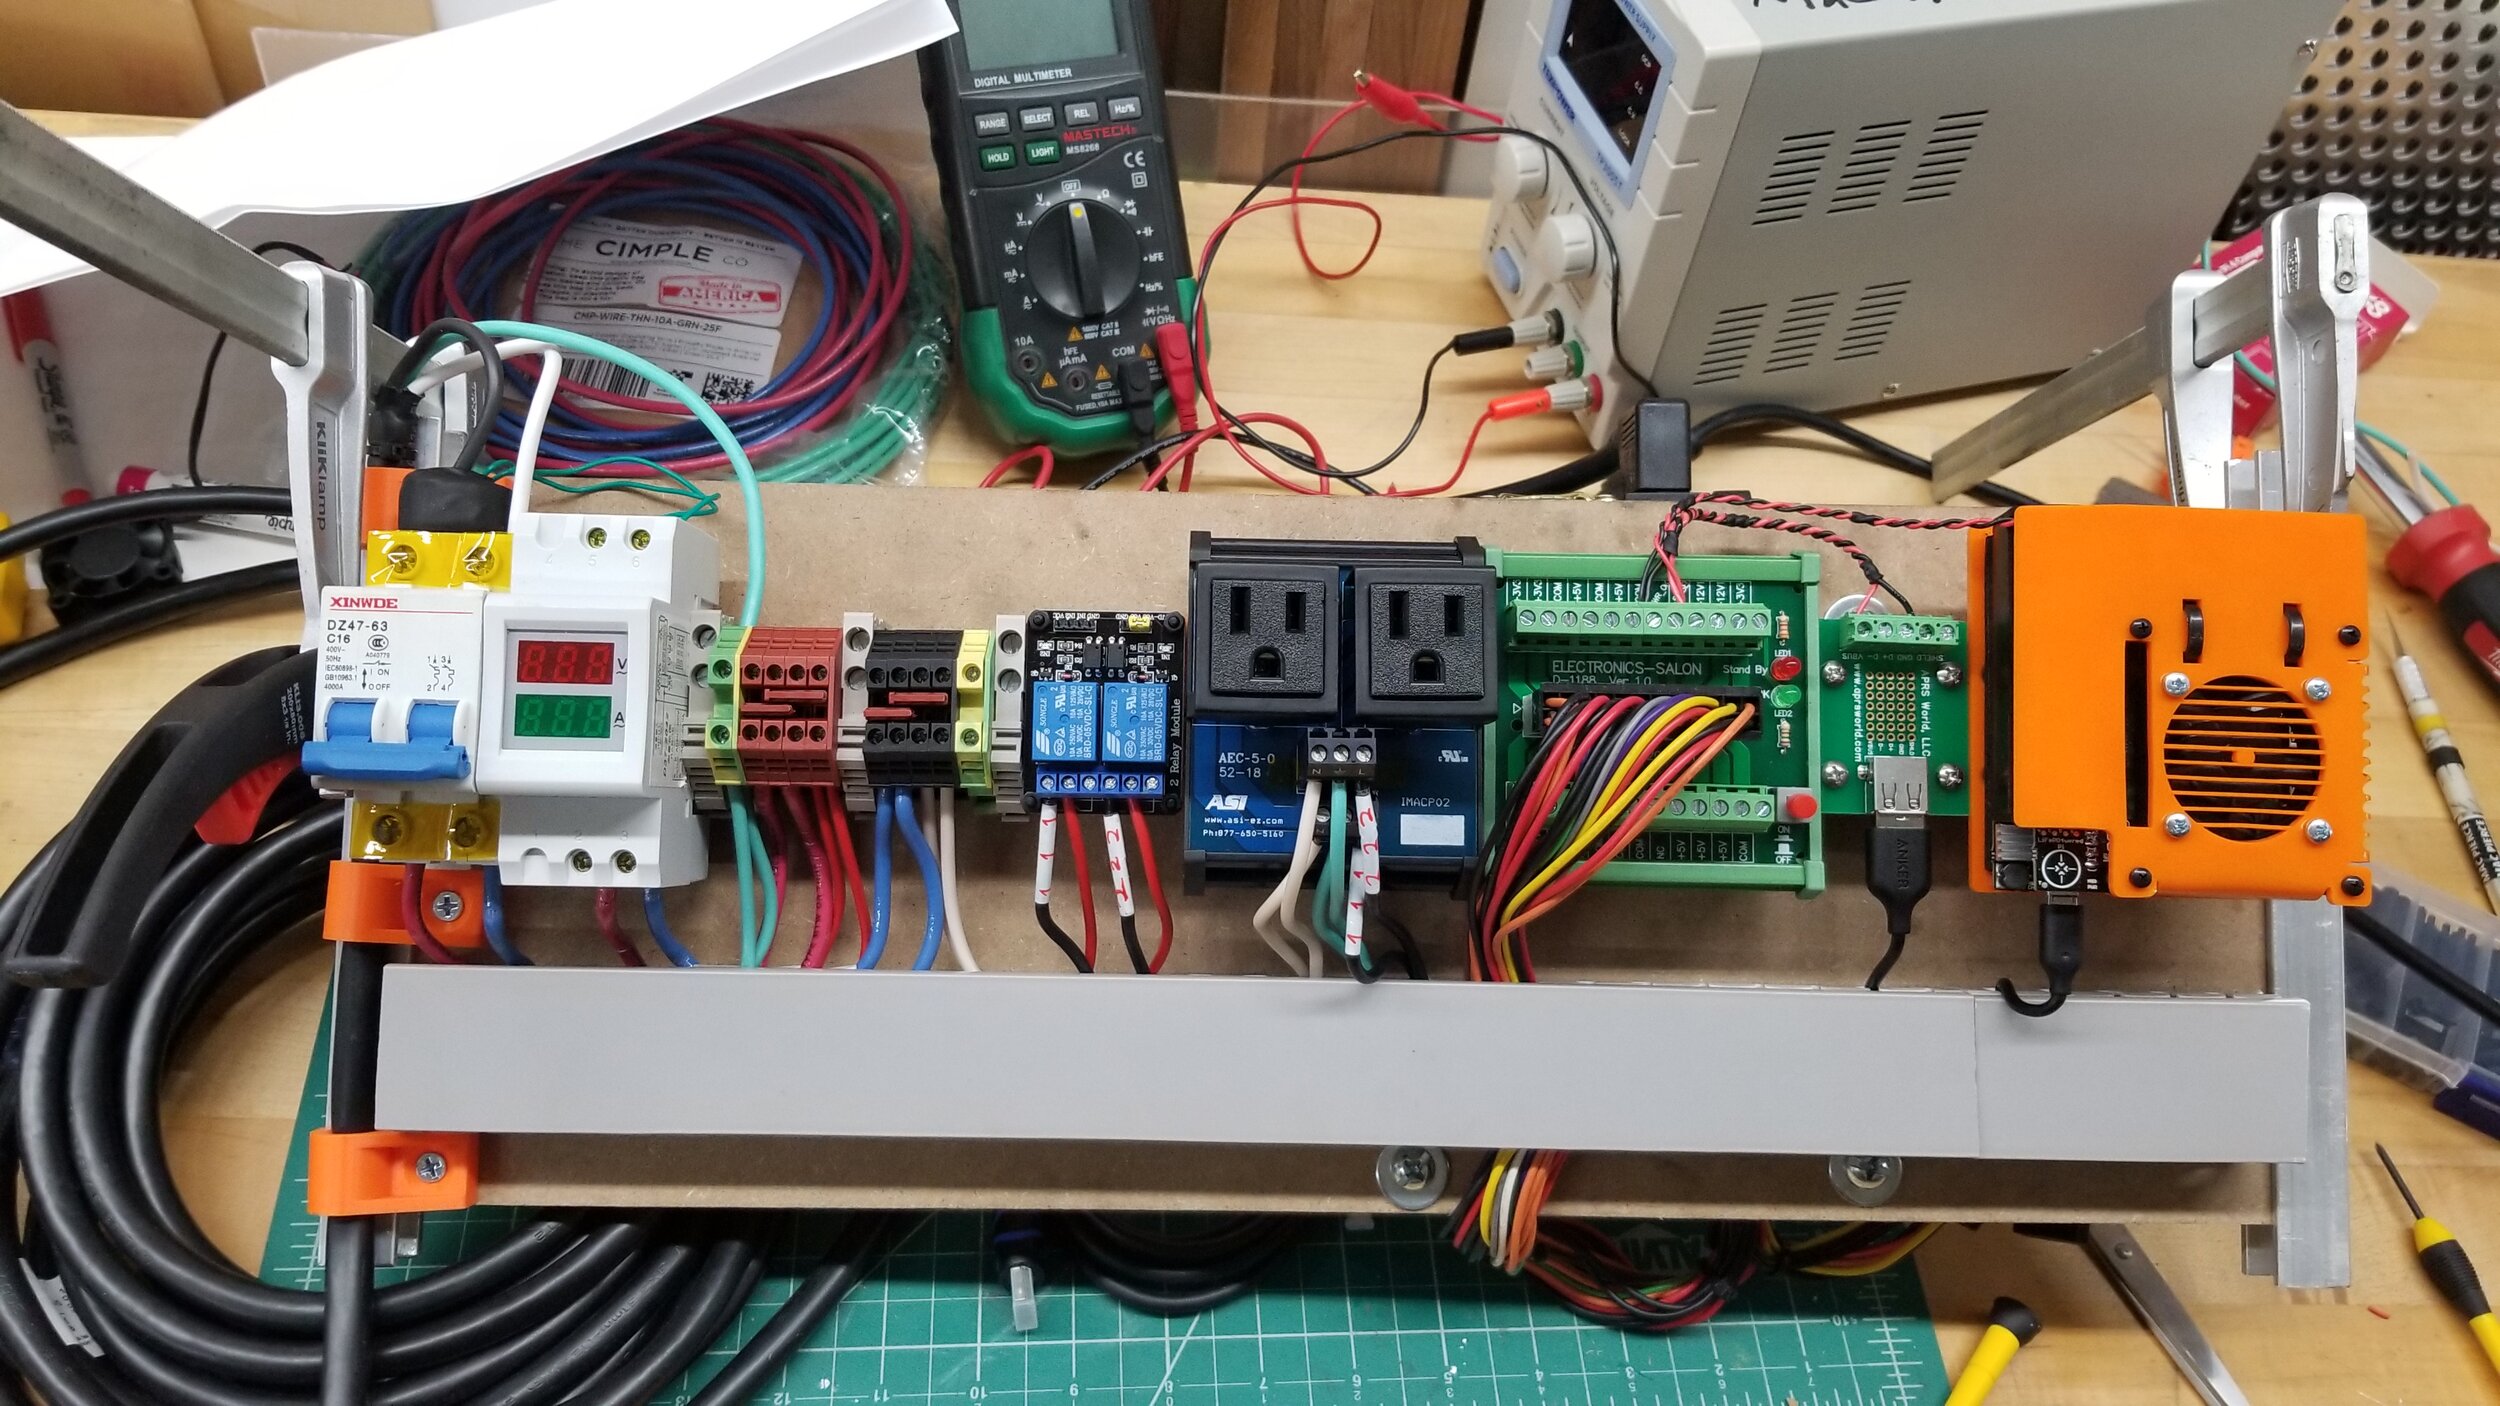
Everything came together smoothly on the rail, and ended up fitting in snugly with the 19” of space I had between rack rails.
In mounting the Pi4 to the rail I found that most of the existing Pi cases for DIN rails aren’t that great, so I designed the one shown for laser cutting and bent it up using a hot air gun. It includes space for the (unused) battery, wire management tie downs, and mounting for a 40mm fan. Temps with the case and the fan running + an aluminum heat-sink have been between 35-42c.
You can download the DXF’s here - Top & Bottom (Credit is nice if used)
With all pieces mounted, I set about attaching the rail assembly to the rack. Not shown is adding in the smallest piece of fingered conduit I think I’ve ever seen (0.75” wide x 1” tall).

Noice.
Next up came the E-Stop wiring, which traces along the sides and up to the front. All conductors are contained in a 14-5 cable that is entirely overkill for what it’s doing, but going to do it very well all the same.
For the enclosure for the switch, I made a box and added in a block to extend the mounting to the side of the rack. To attach it to the rack, I’ve got 3 2” screws that are all set at an offset to one another going into the block to oppose the force of being hit from the front.


From there I added a few extras, including:
Incorporating a few high-output 12v LEDs hooked up to the ATX PSU
Replacing the Prusa’s original 240w power supply with a genuine MeanWell 350w supply, and attaching it to the 2020 rails of the enclosure.
Doing some additional wire management and using 20a rated genuine Phoenix connectors to route power through the wall of the enclosure, plus USB3 pass through.


And with that, that’s where I’m at. Using Octroprint’s enclosure plug in I can now control the status of the ATX PSU by pulling down the PS-ENABLE pin on the PSU (wired to the Pi’s GPIO), and the 2 relays controlling the 2 outlets on the back, one of which has the printer plugged in. The Pi itself is powered via the always on 5v line from the PSU, which is quite handy.
Anyways, this was a fun project, and learned quite a few new things in doing it it. I had to put it down before feature creep would have made the scope balloon beyond what I would have been able stomach working on. Other things I would have liked to have added would have been a new filament storage box, incorporating the MMU2 I bought November 2018, incorporating filtered fans for intake/exhaust, and adding a touch screen to the rack for the Octroprint Touch UI. That said, I’m happy with those being projects for another day.
Thinking on it, I’ve had a slew of printers, with the Prusa being the least fussy of them all. That I do any additional work to it is somewhat anethematic to the reason I purchased it in the first place. That said, tinkering with printers is something I think I’ll always want to do at some level.
Just… one… more… feature…
Cheers!
Mac
If you found this guide helpful, consider supporting my work with a donation so I can continue to post things like this: