
Back into the FE-AL: Iron Pour at Sculpture Trails Indiana
These past couple of months I’ve been working on more sculptural projects related to my 1A2A3D project, some of which are accessories to larger pieces I’ve been working on. These pieces have started to become more diverse that the project was originally scoped for, but as the work evolved I’ve been happy to see the project change into new avenues.
As part of the masters program I’m involved in now, I’ve gotten to meet tons of fantastic artists and makers. Included within that bunch is Eric Fuentes who invited me out to an iron pour event over the summer. Though initially I had no idea on what I was going to be making, I quickly figured out that I needed to be fabricating something related to 1A2A3D, and within the context of another yet-to-be-published project I’d started over summer 2022, I decided it needed to be a cannonball.
So I made a 30lbs cannonball.

The cannonball, which I’ve entitled '600 Caliber’ is 6” in diameter, and is solid cast iron. It’s difficult to pick up, will crack floors if dropped, and is perfectly sized for another project I’m working on.
This is how I made it…
Step 1 - Find a way to pour iron.
The first hurdle in making this object was finding a way to cast iron. Initially, I had no idea that I wanted to make a cannonball, but only had a desire to pour iron. During the course of my undergraduate degree I’d had the opportunity to participate in multiple bronze and aluminum pours, but that happened almost a decade ago, and I’d never had the opportunity to cast iron. And for good reason, as iron requires specialized equipment to reach the 1600°C (3000°F) needed for pouring. For context - aluminum pours at about 650°C (1200°f), and bronze at about 1200°C (2200°F).
So when I was invited by Eric to a semi-local event that would center around iron casting, I was all too happy to attend. The event - which I’ll go into with more depth later in this post - is hosted by Sculpture Trails, a non-profit sculpture park and foundry located in central Indiana that hosts a yearly iron-pour event that’s open to the public. While they have two enormous furnaces located on site, for this event they invite outside teams to set up their own as part of this event. Eric, having his own furnace capable of melting iron, was invited and needed people to help run it, so I and another graduate student named Johnathan Lanier obliged.
Step 2 - Figure out what you’re going to pour and make a mold.
Once I knew that I was going to be part of a pour, I needed to figure out what it was that I was going to be making. Thankfully for me I was already working on another project (yet to be published), that could do with a companion artwork in the shape of a 6” cannonball. And besides, if it was my first time doing iron casting, I wanted to start out with a simple shape. So with that in mind, I started working on the pieces for the mold.
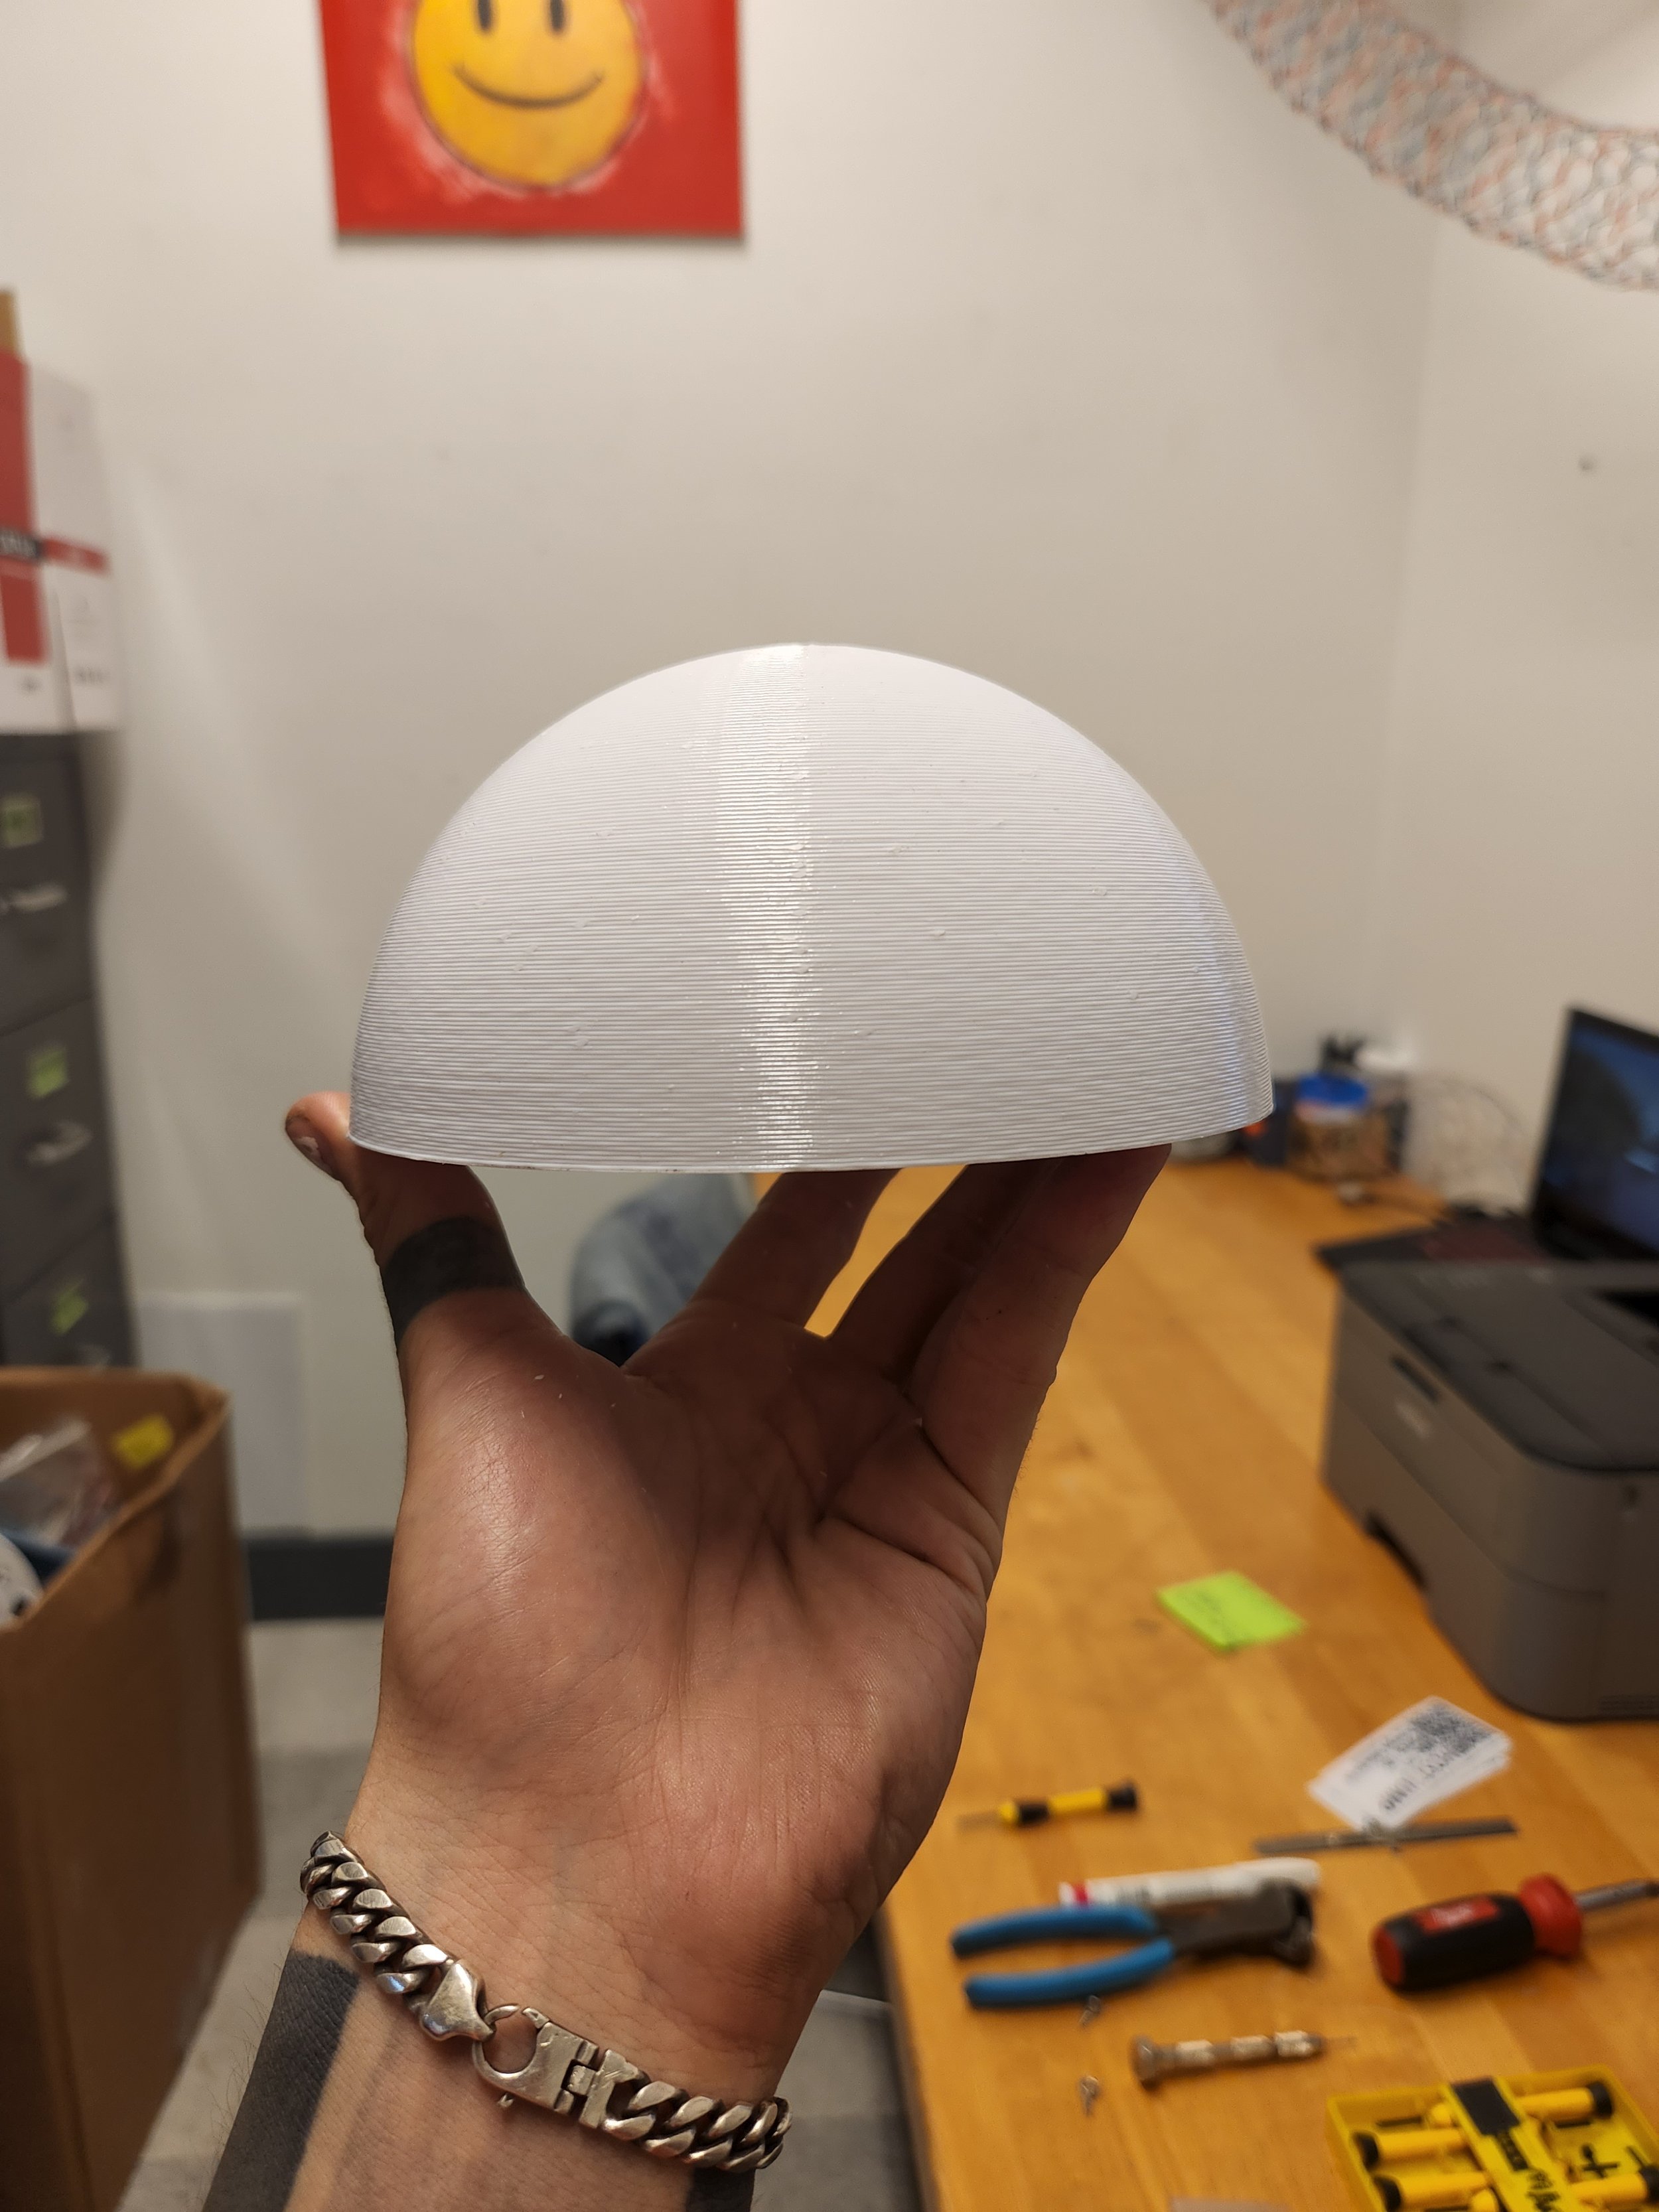
The process we were using to cast iron requires a sand mold, in which silica sand is mixed with a resin binder to make a durable and extremely heat-resistant object that will resist the high temperatures of molten iron. Typically, these molds are made in multiple pieces, which are then combined to make a mold with an interior void that will contain the liquid iron. In the case of the cannonball - a solid sphere - the molding was relatively simple, needing only a 2 part mold. To make the positive form for the mold, that being the object that the sand is shaped around, I modeled and then printed x2 6” diameter hemispheres with registration holes. These hemispheres could be aligned and molded around individually make a half of the mold, and when the mold halves were combined (sans hemispheres), it would leave a perfectly aligned sphere-shaped negative within the mold.
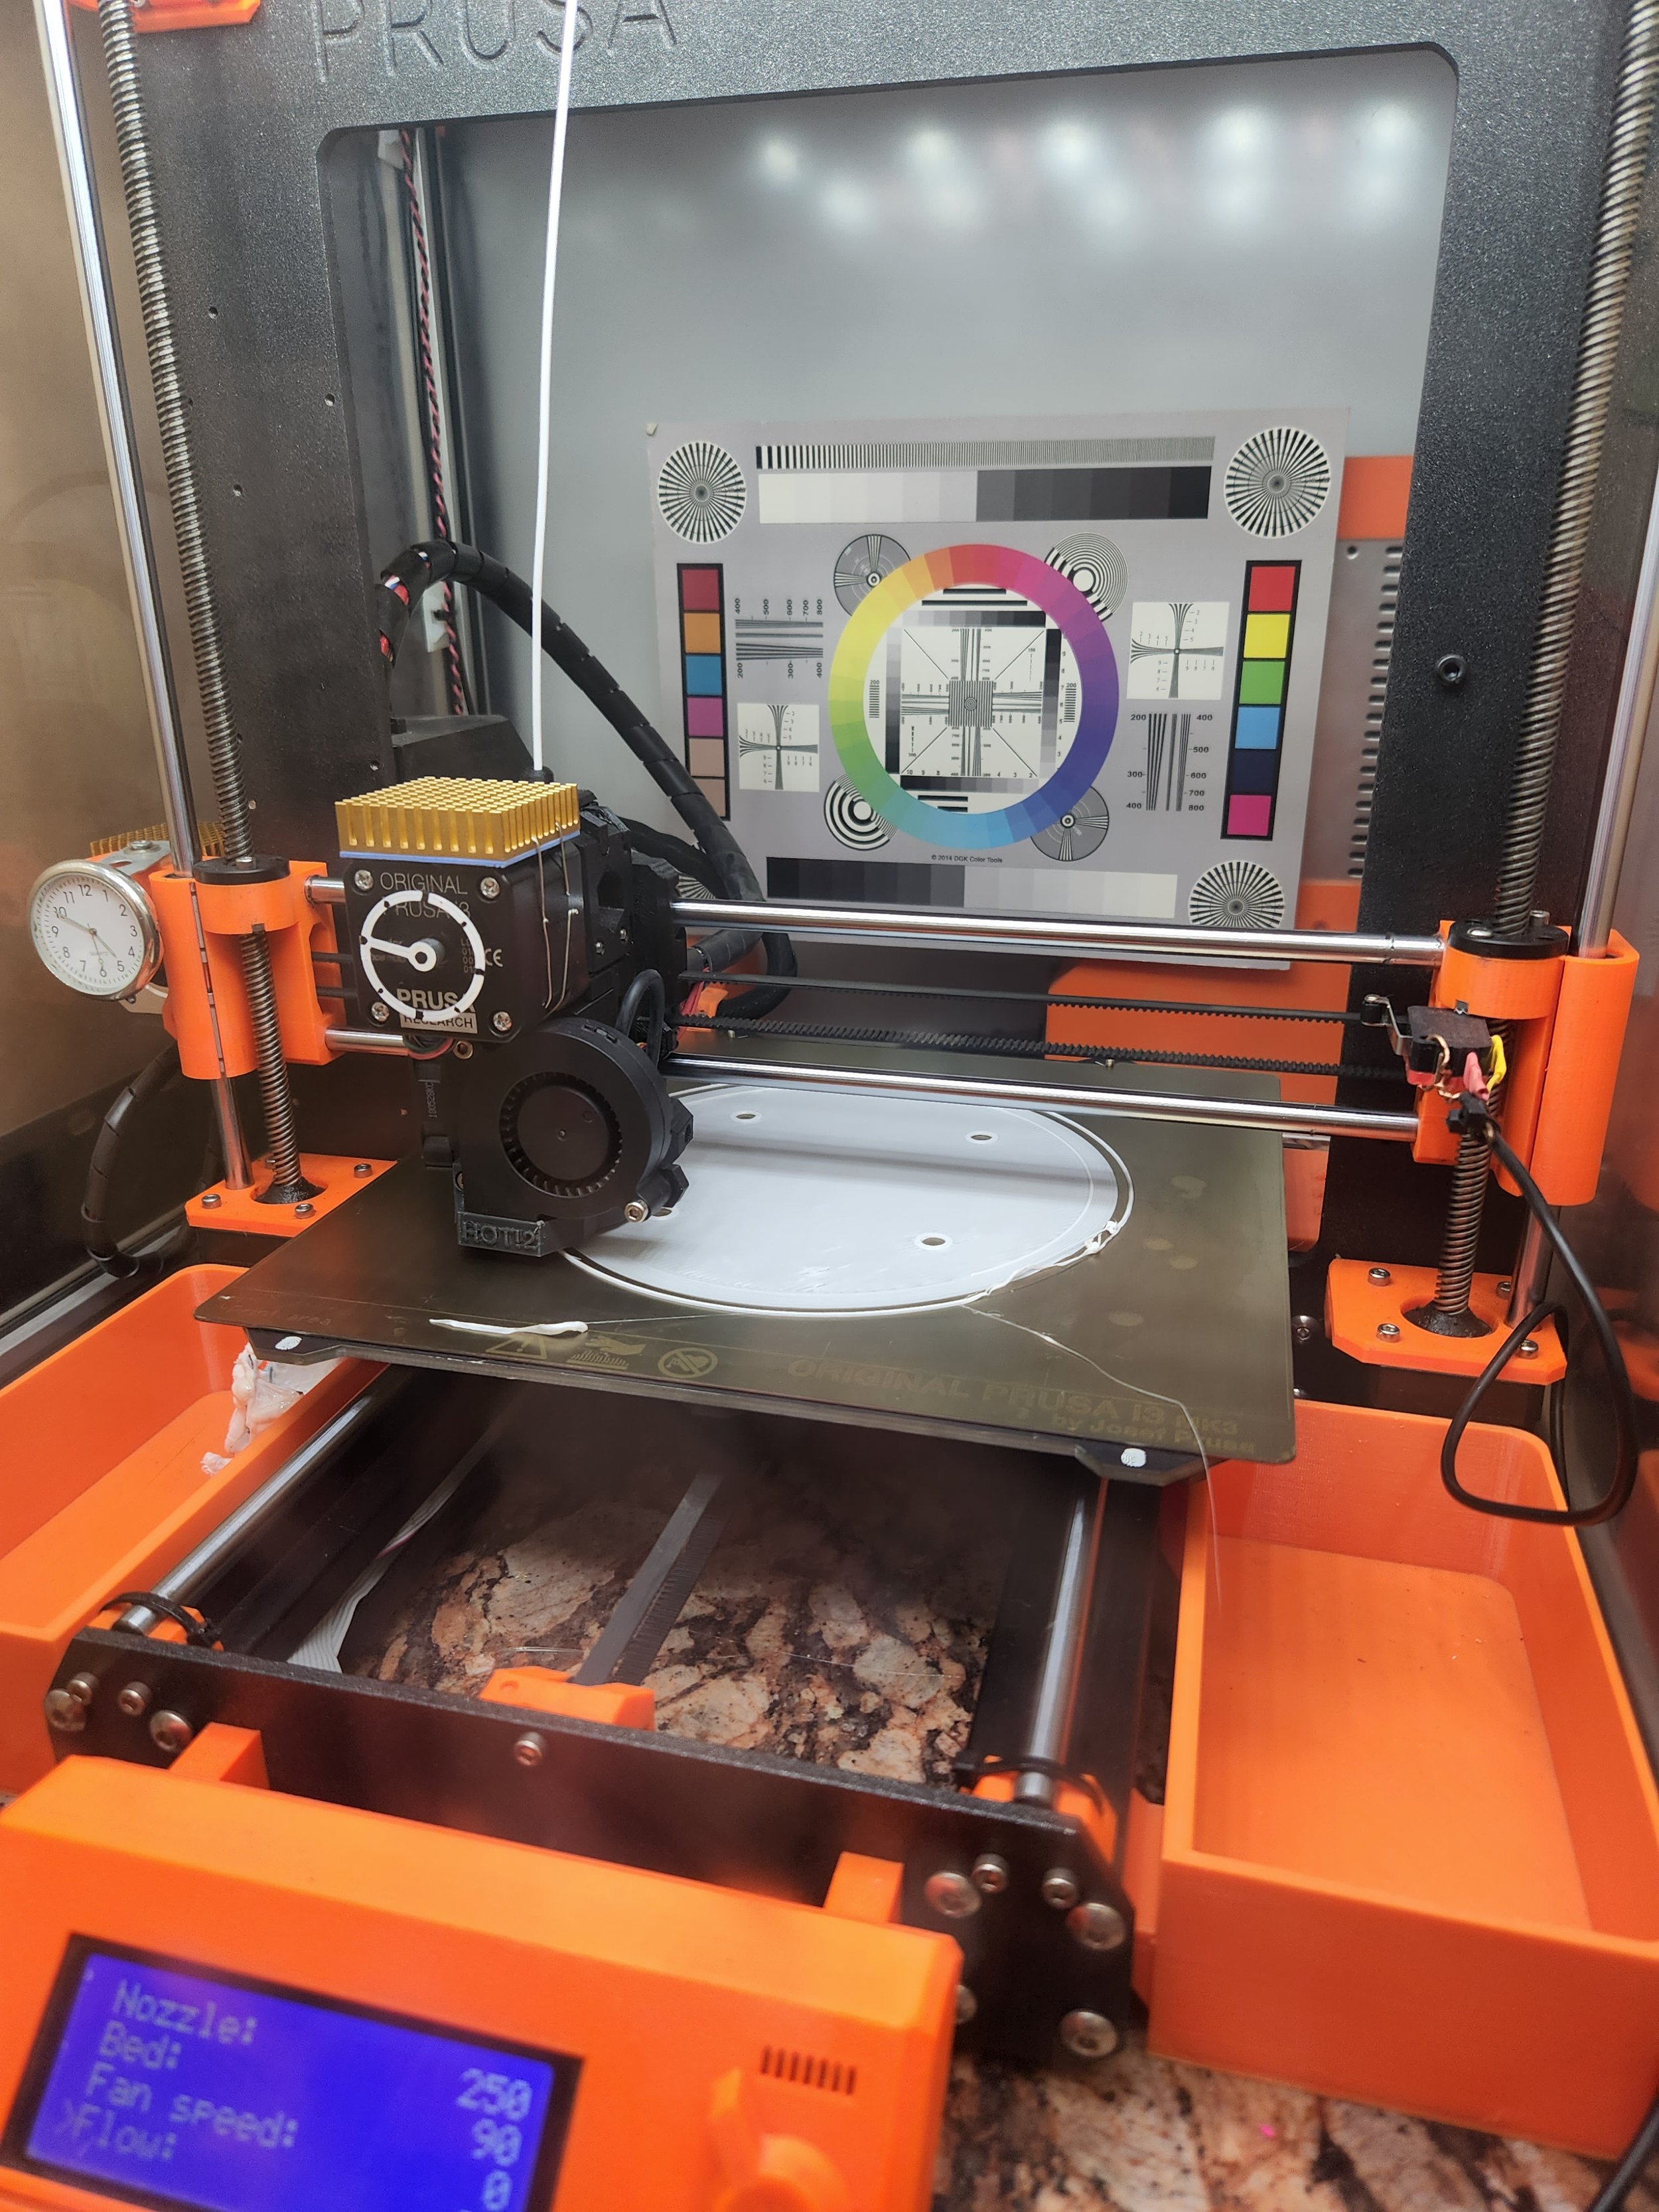
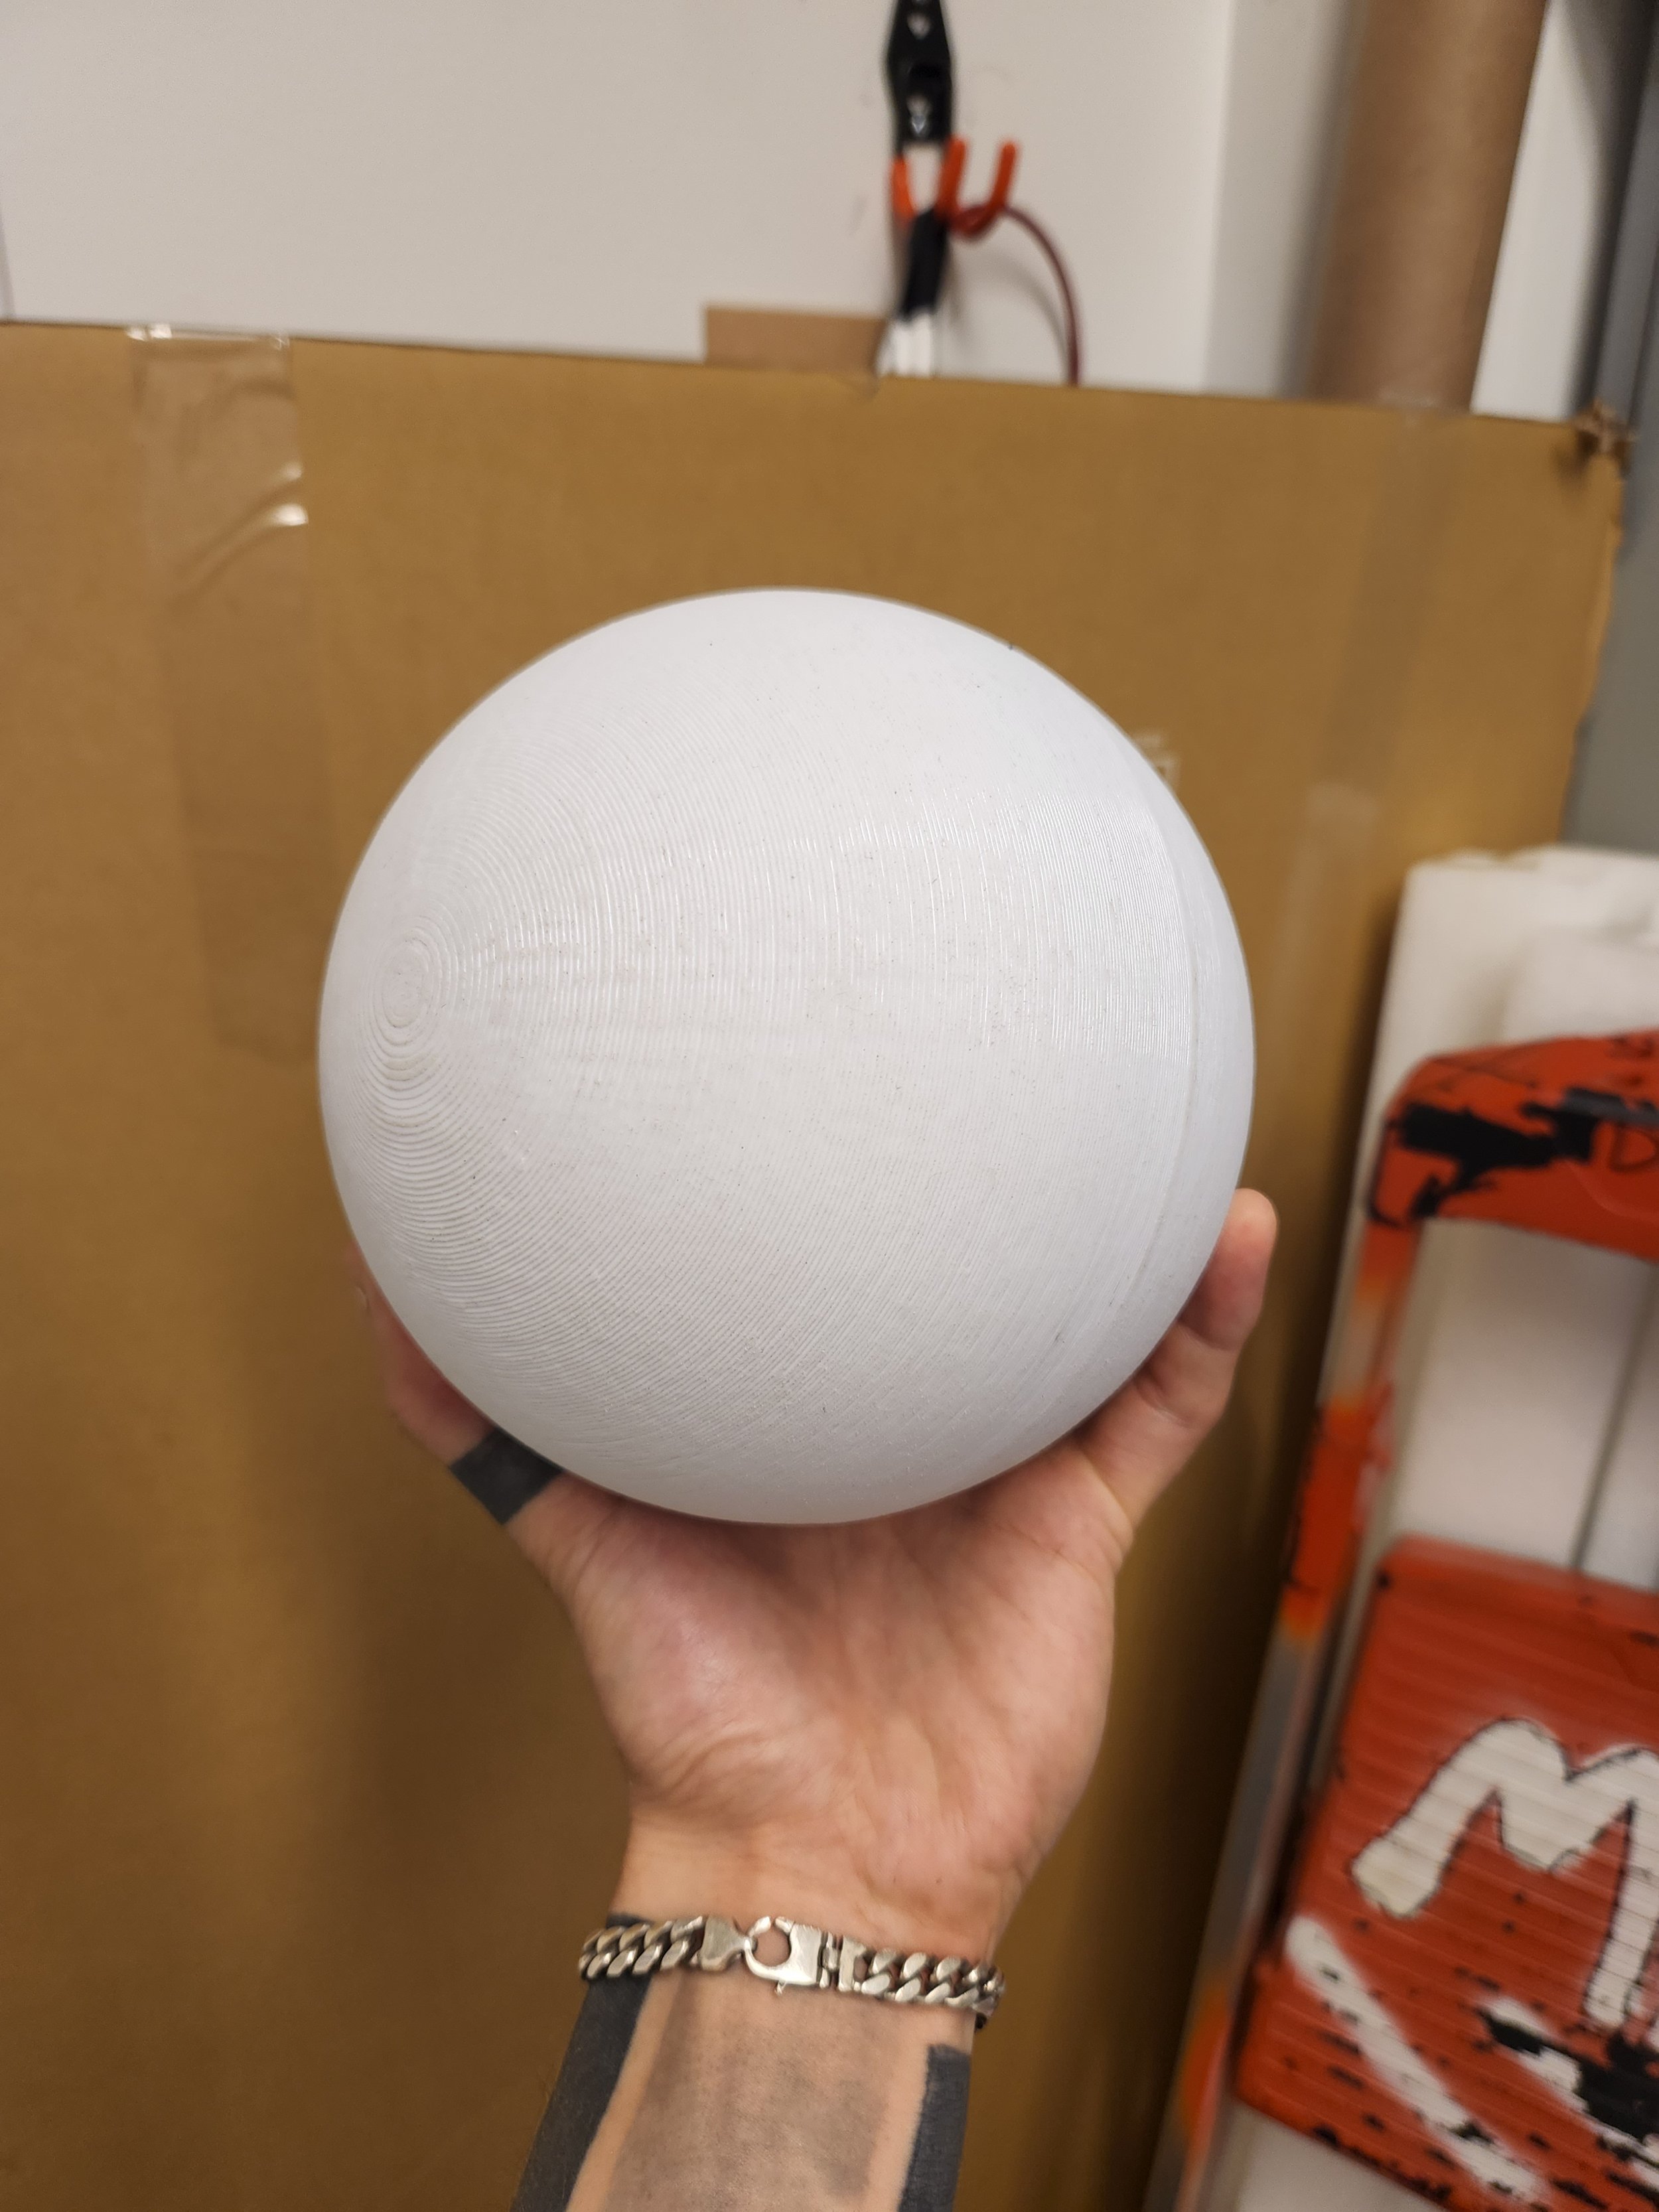
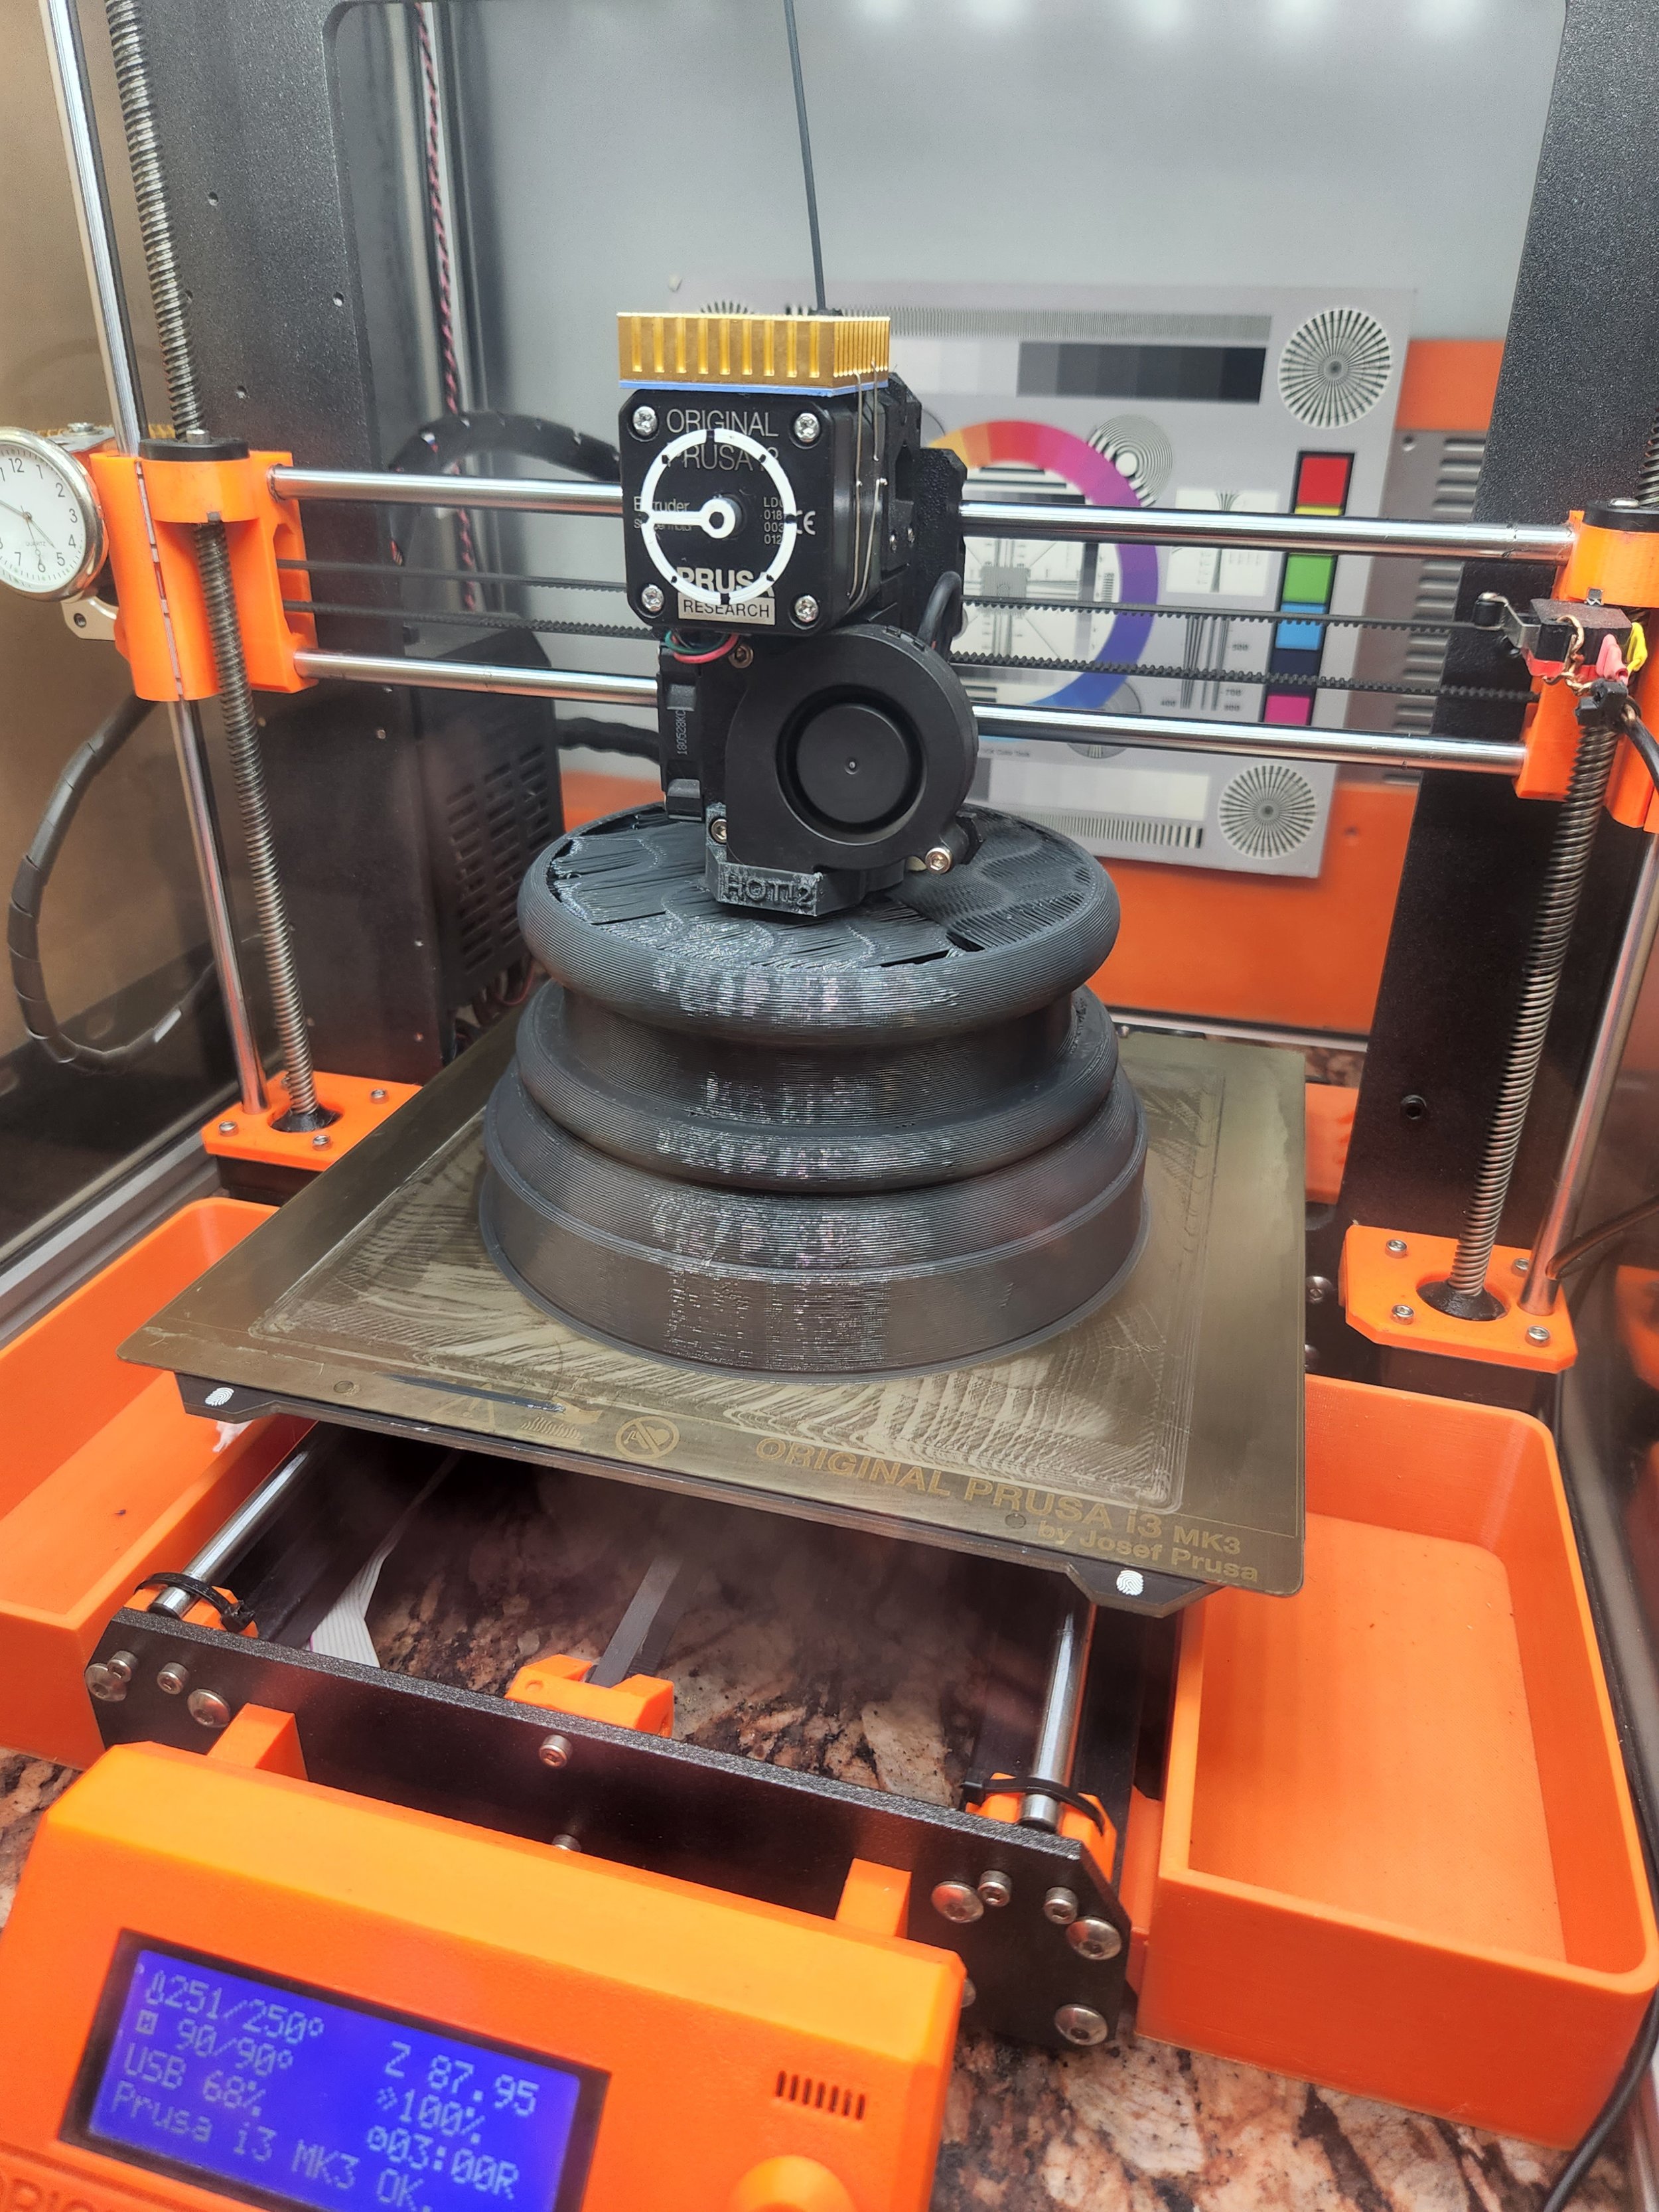
With the modeled hemispheres ready, I printed them in PETG with low infill and 2 walls, and after a light sanding to remove most of the layer lines I was left with a dimensionally accurate sphere.
With that completed, I handed off the sphere to Johnathan for the molding. He’s got far more experience with the designing of venting and sprues, and was able to quickly put together a sand mold for casting.
The process, as I understand it, went something like this:
Select an appropriately sized flask - the box-like container used hold the sand a the resin sets up - giving enough room around the object to the edges of the flask to ensure a solid mold.
Position and fix your positive piece (a hemisphere) within the flask with the part line face-down and then apply a release agent to your positive. In this example, I believe it was baby powder.
Mix the casting sand with resin, and then pack it into the flask around your object, taking care to not damage the positive in the process. Allow the resin to harden before moving onto…
Flip over the flask, revealing the positive embedded in the sand. Align the second half of your positive (the other hemisphere) to the first positive, prepare a flask to hold the second half of the mold, and the coat the exposed areas of the positive and the 1st mold cured sand with release agent.
Repeat step 3, filling in the second half of the mold with the casting sand. Allowing it to fully cure before…
Separate the two mold halves along the part line, and then remove the two positives from the cured sand, leaving the negative of the form. In the case of the hemispheres, they were pretty strongly embedded in the sand, and required a heat gun to warp them to the point where they disengaged the sand.
Carve out the pour spout, venting, and risers from the two halves, making sure to align these features between the two sand-mold halves.
Coat the interior of the sand mold with a refractory, such as solution of graphite, to help the sand withstand the immense temperatures of the casting process.
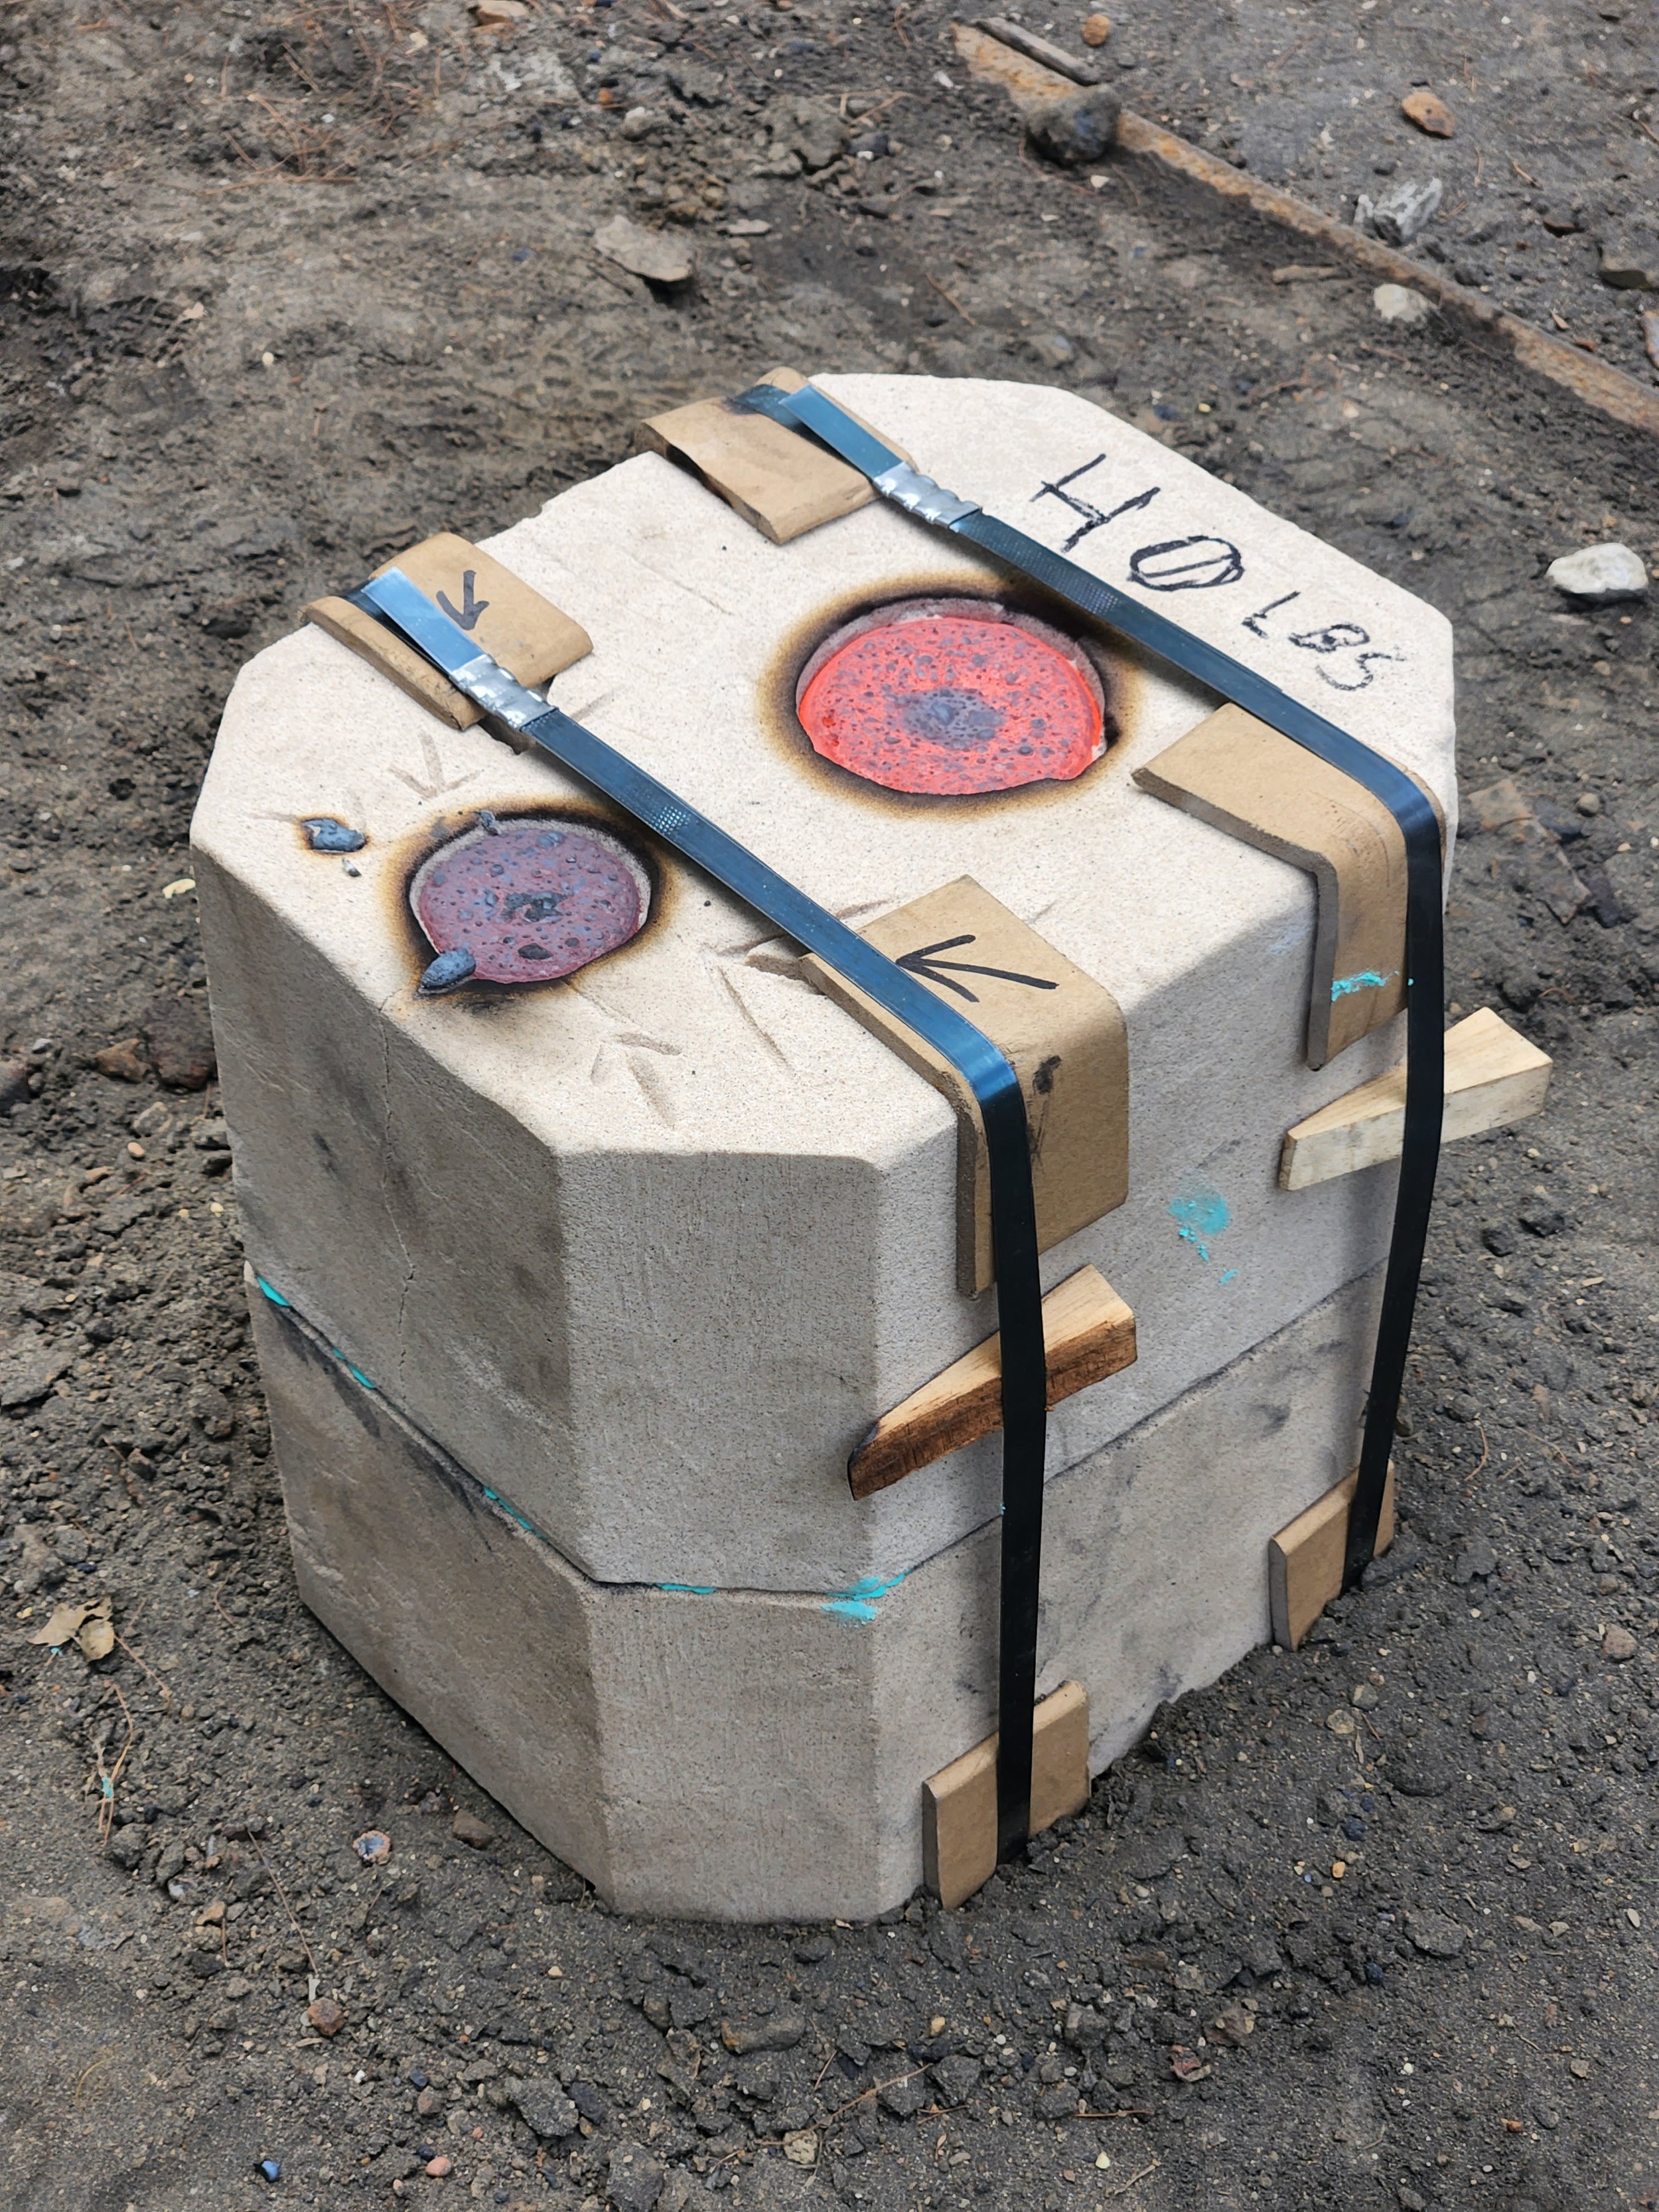
Seal the seam with a high-temperature adhesive (like a gasket) and close the two halves together. Use shipping straps / banding to hold the mold together so when the pressure of the metal fills the mold, the sand halves don’t separate.

The two mold halves coated with refractory, just prior to step 9.
And with that, the mold was ready to be poured into.
Step 3 - Pour some iron!
Johnathan and I packed up my car and we drove out to central Indiana. Arriving at Sculpture trails, we jumped into setting up Eric’s forage and laid out our assorted molds.

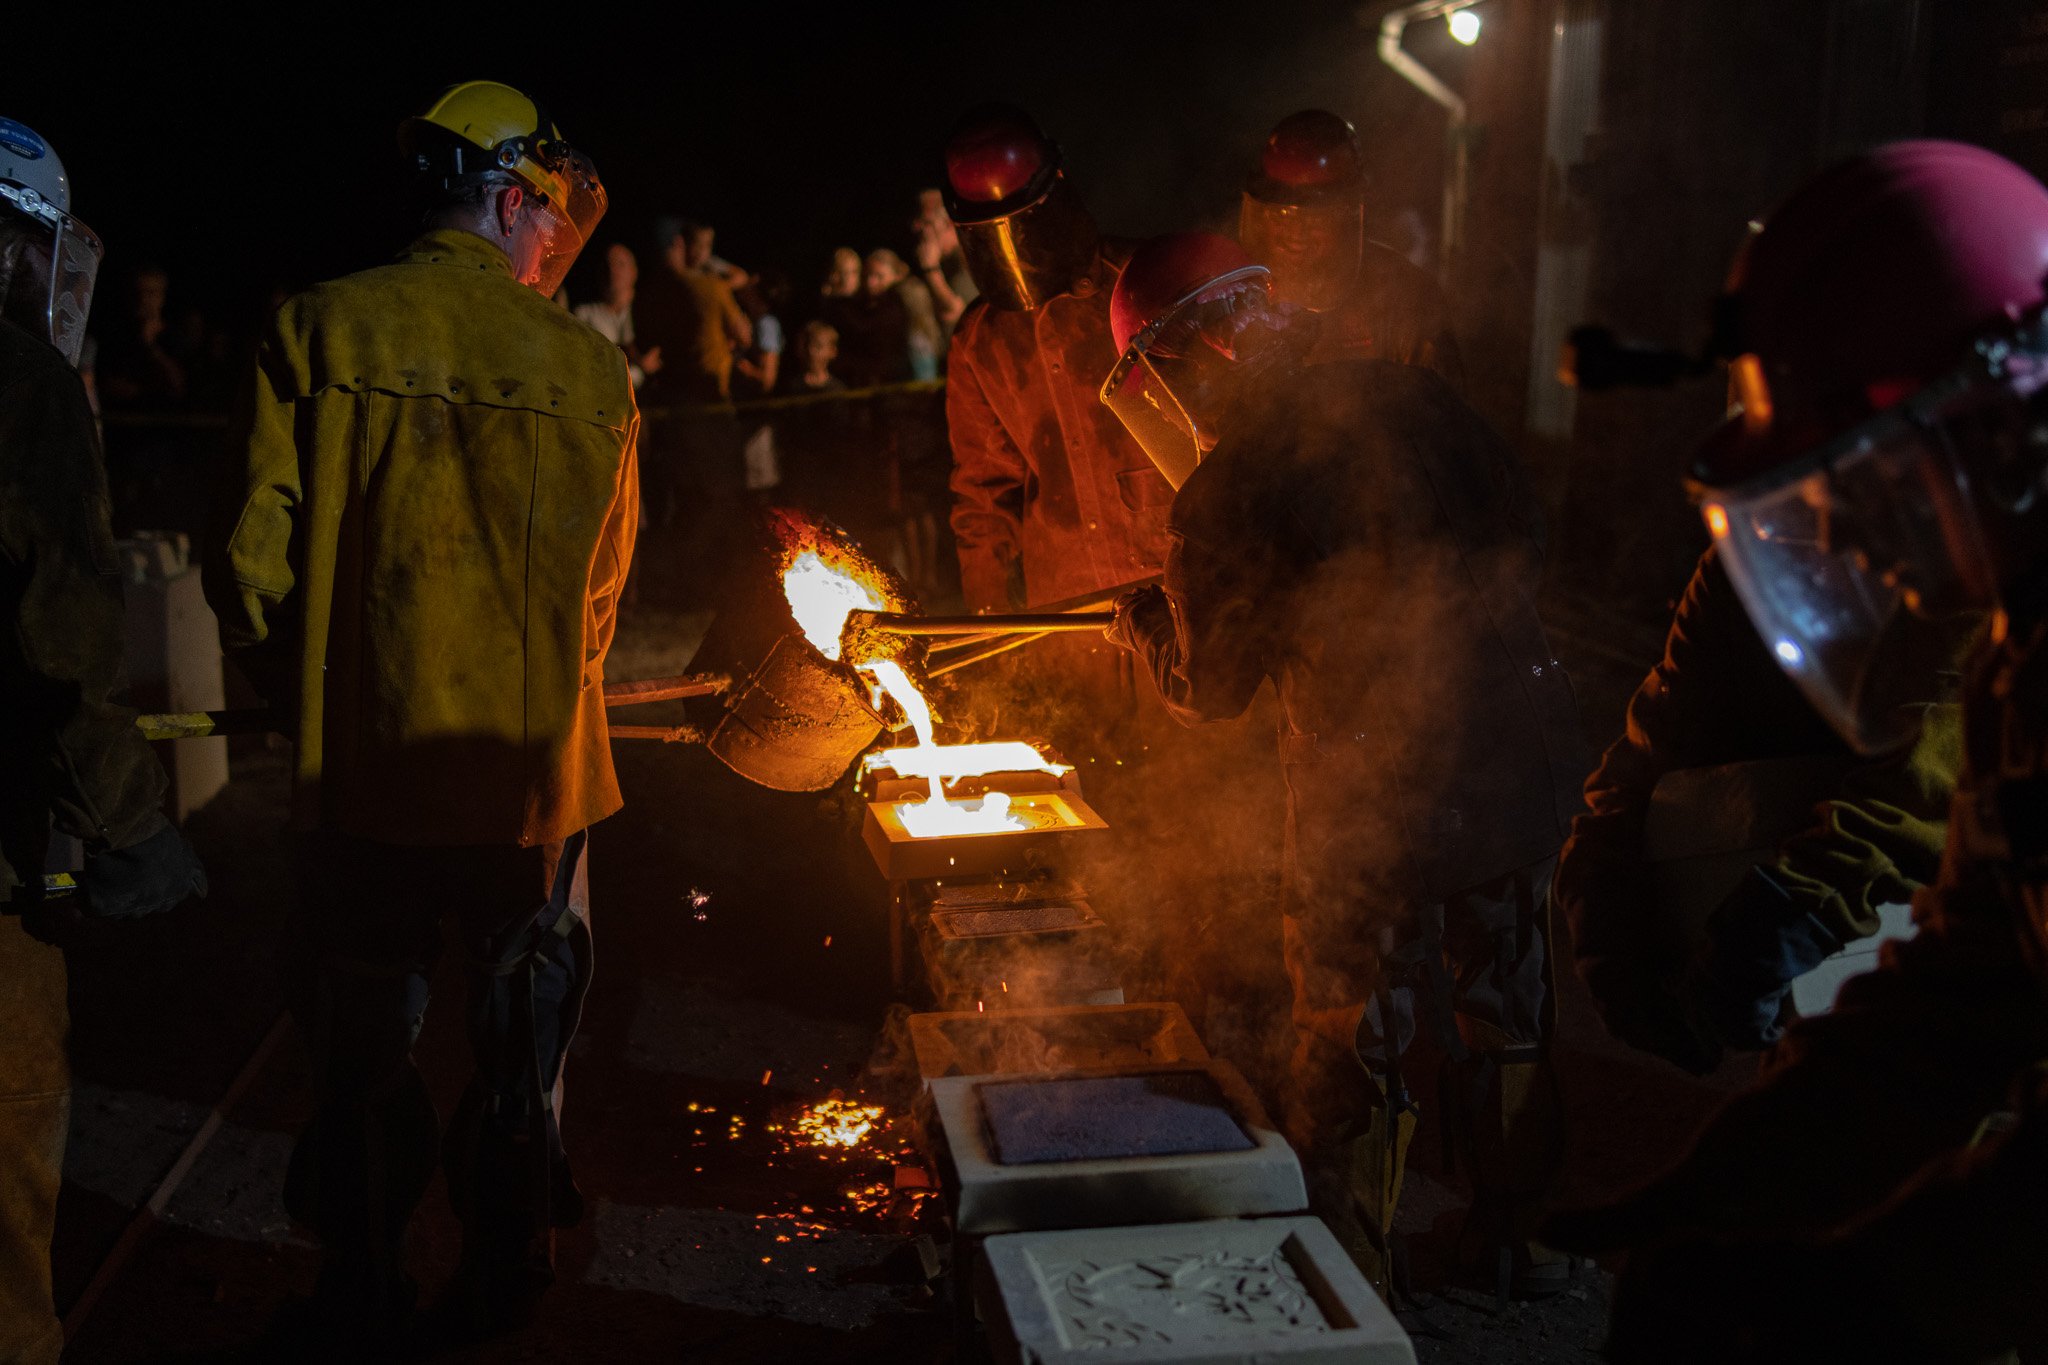
Eric built the pictured furnace himself, and it operates by loading in coke (a form of coal) to the top, and then loading in iron chunks, all while forcing in large amounts of air via the leaf blower. As the coke burns, the iron melts and settles to the bottom of the furnace. The furnace is built like a bucket, containing the liquid iron until enough is melted, at which point a hole is poked through the wall of the furnace. The liquid iron then quickly pours out into a waiting crucible, which is then picked up and brought over to the waiting molds. The whole operation requires quite a bit of coordination, with 5-6 people involved in tending the furnace and pouring the crucible, and the choreography of safely moving a 1600°C crucible to the molds takes 4 people in itself.

Thankfully, the pour of my mold went smoothly, and I was able to move on and assist with the other pours throughout the day as I waited for it to cool.
Sculpture trails is really something special, as over the course of this event over 3 tons of iron was poured, involving about 40 people, all moving around and coordinating pours.

The main casting yard, filled with molds and the main foundry in the background.
A series of open-faced sand molds being poured in sequence

The cooking off of a “reaction mold”, were the molten iron is poured into a mold that still contains a positive form carved out of foam. As the foam comes into contact with the molten iron, it rapidly burns and shoots sparks and smoke out of the mold.
By the end of the main pours, about 8 hours after my mold had been poured, the iron contained was cool enough to be de-molded, so I broke apart the sand and released the casting…

Step 4 - Clean it up.
With the casting in hand, it was time to take it to its Euclidean form. I spent quite a bit of time removing the venting, the mold lines, and rougher surfaces of the ball.
First order of business was to remove the pour spout, which was quickly done with an angle grinder and a cutoff disk.

And from there, it was taking it home and using a grinding disk to clean it up further.

Once the heavy grinding was done, it was onto polishing. I worked my way up with sandpapers until the iron had a solid luster. I think I stopped at 2000, as I didn’t want it to be mirrored.


I threw on a coat of clean enamel and with that, the cannonball was complete.
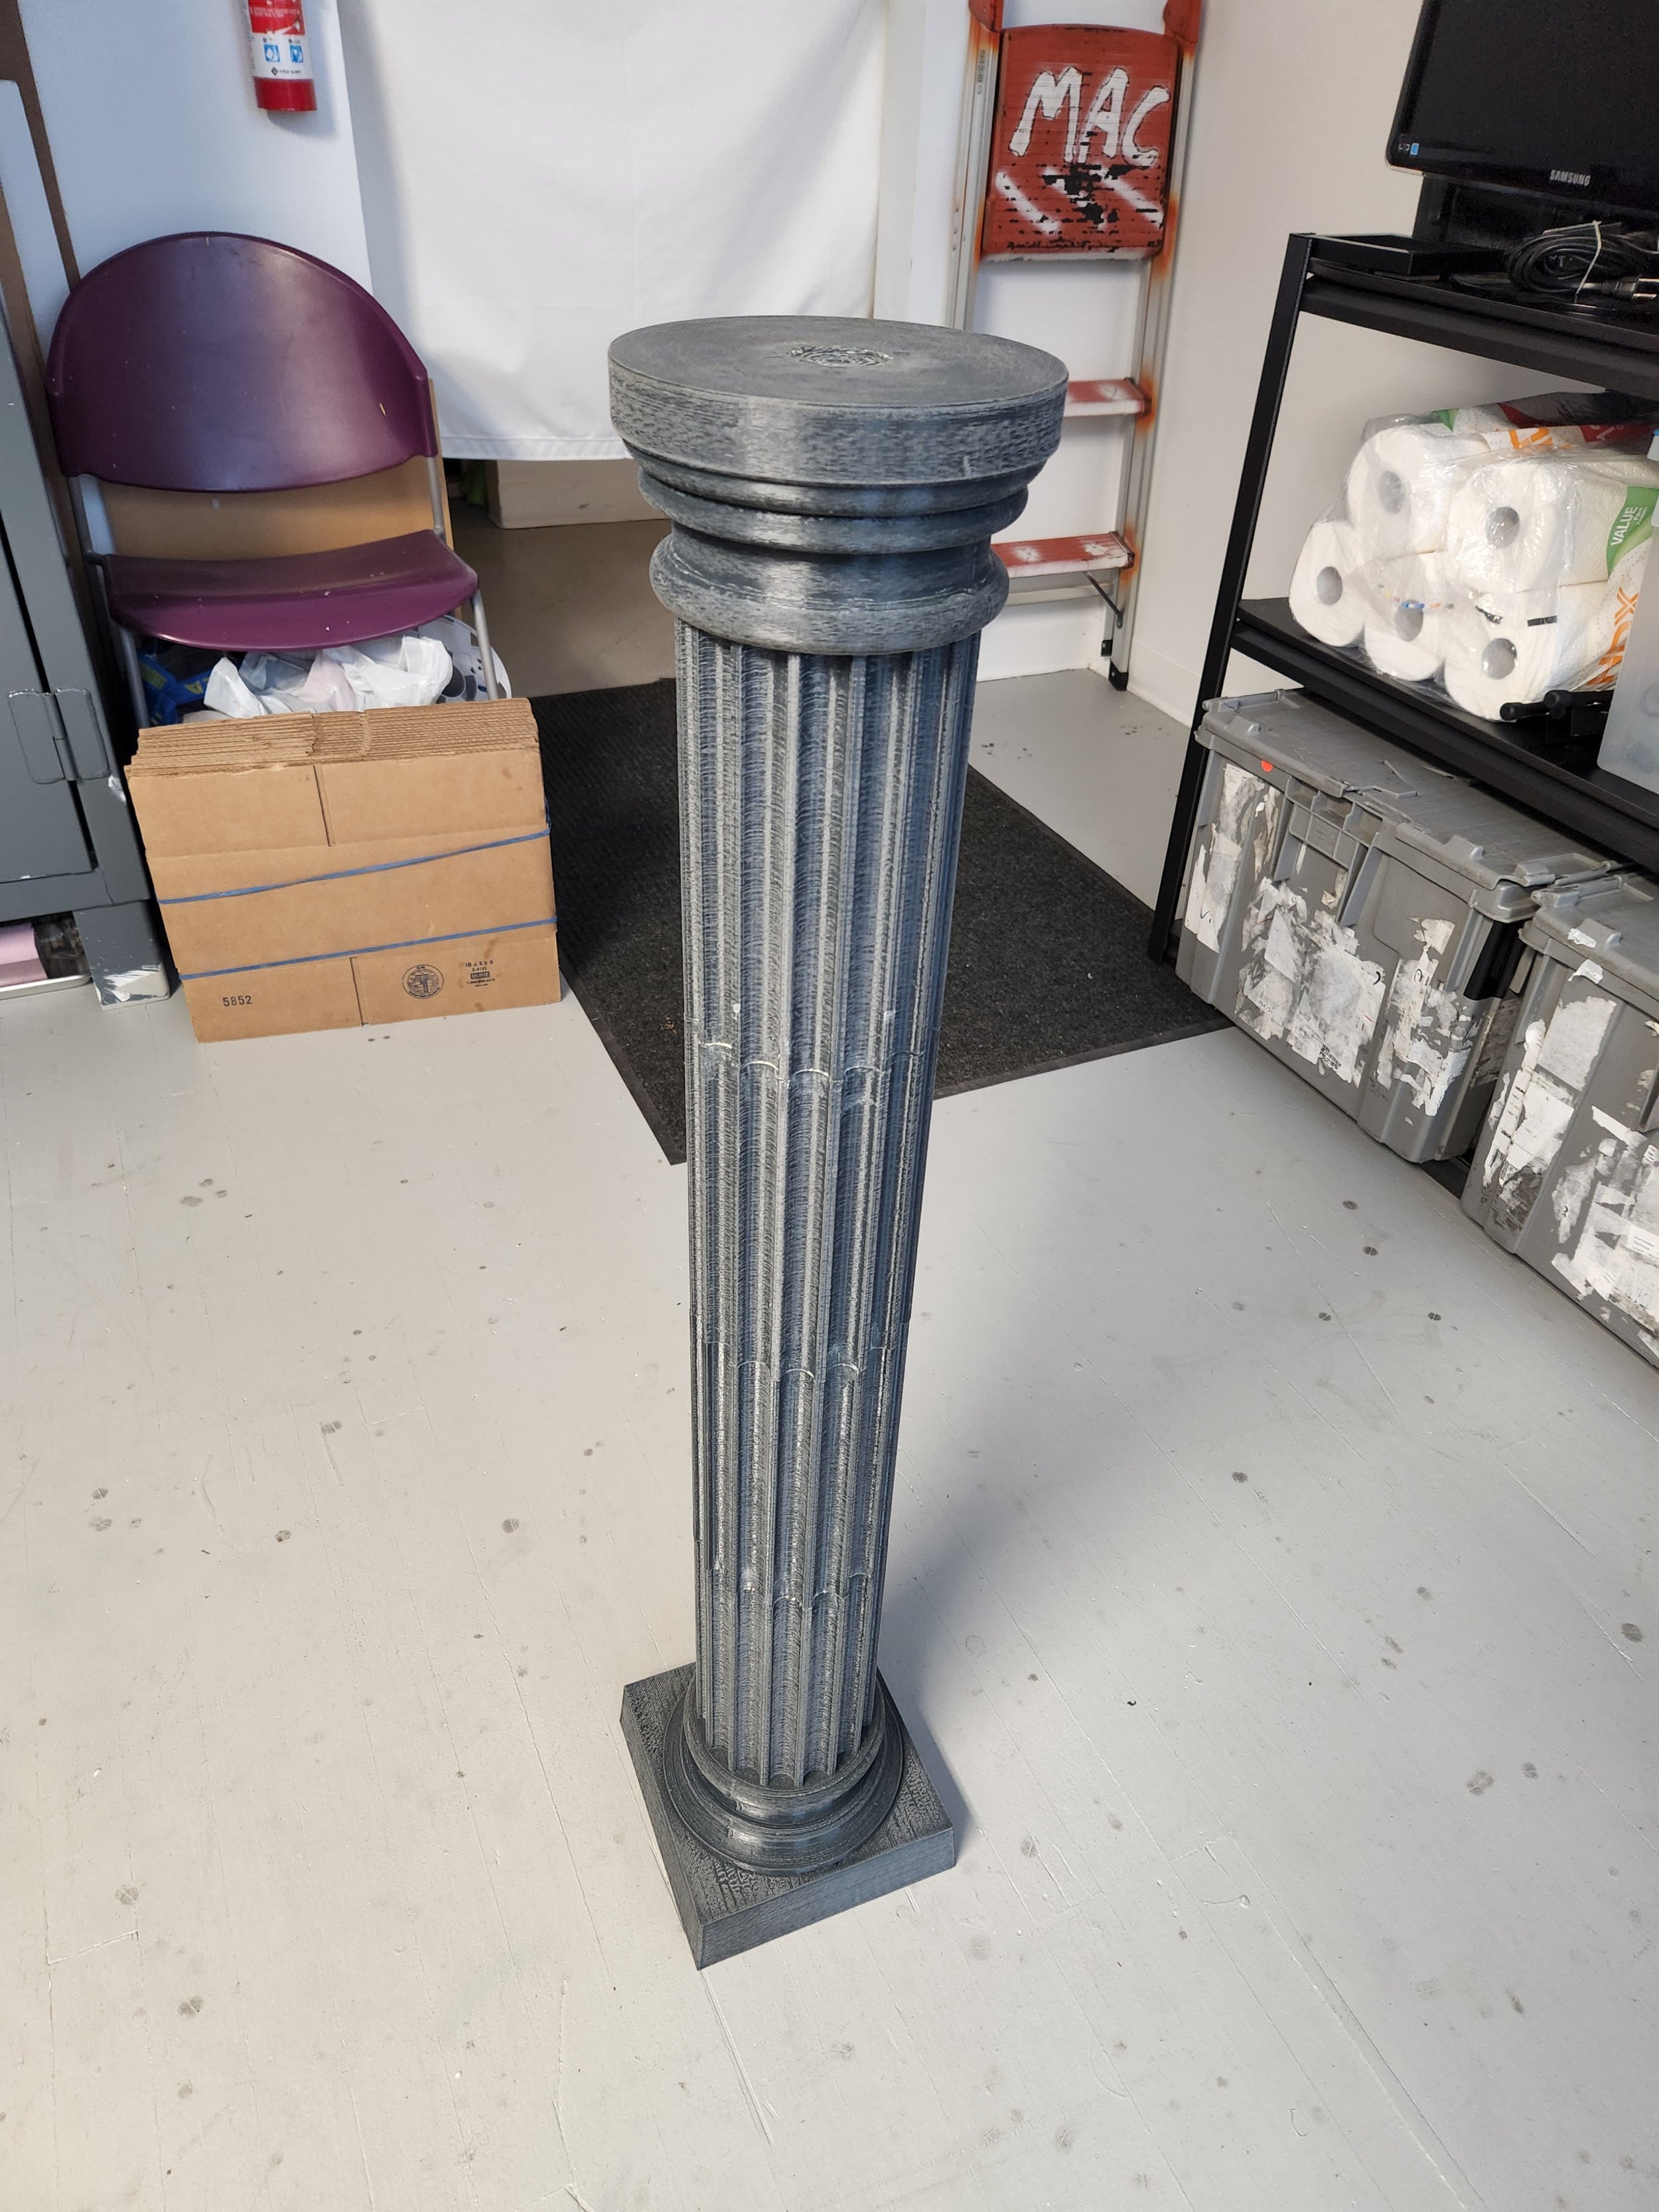
Though the cannonball was pretty neat, I decided to throw together a 3D printed pedestal for it as well. I printed this in 6 parts out of PETG, and then finished it out using filler primer + spray enamel.

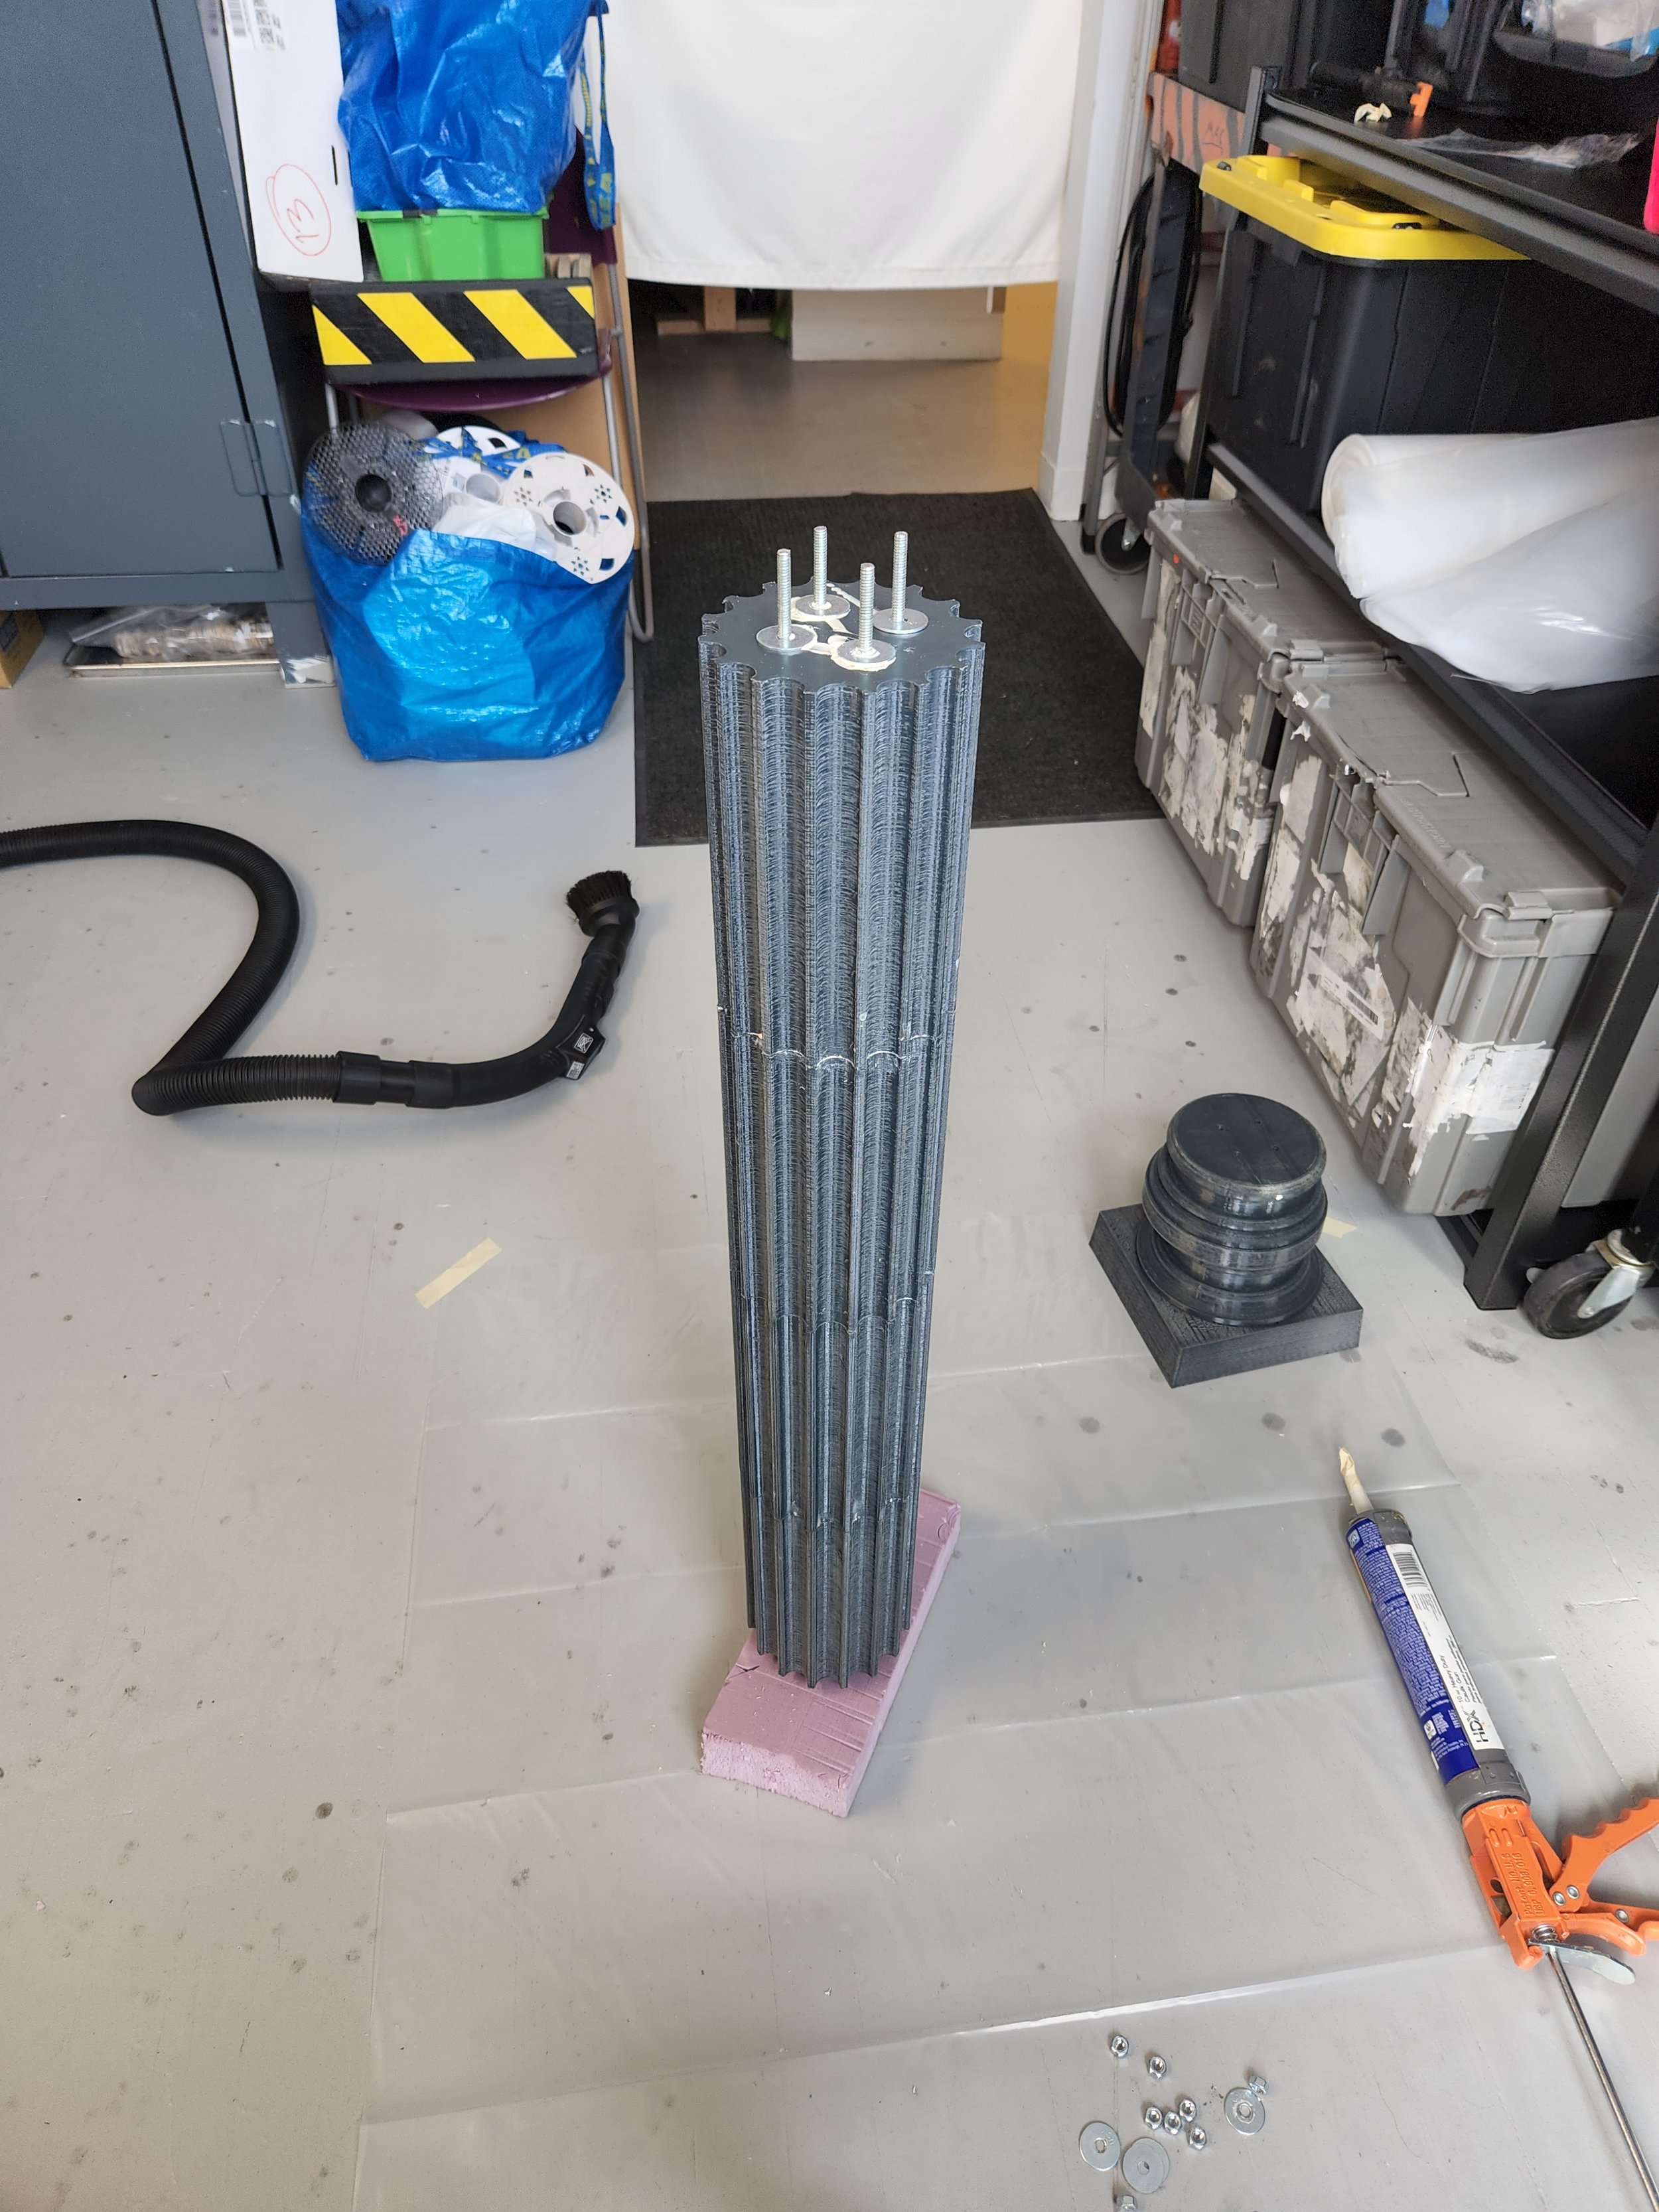
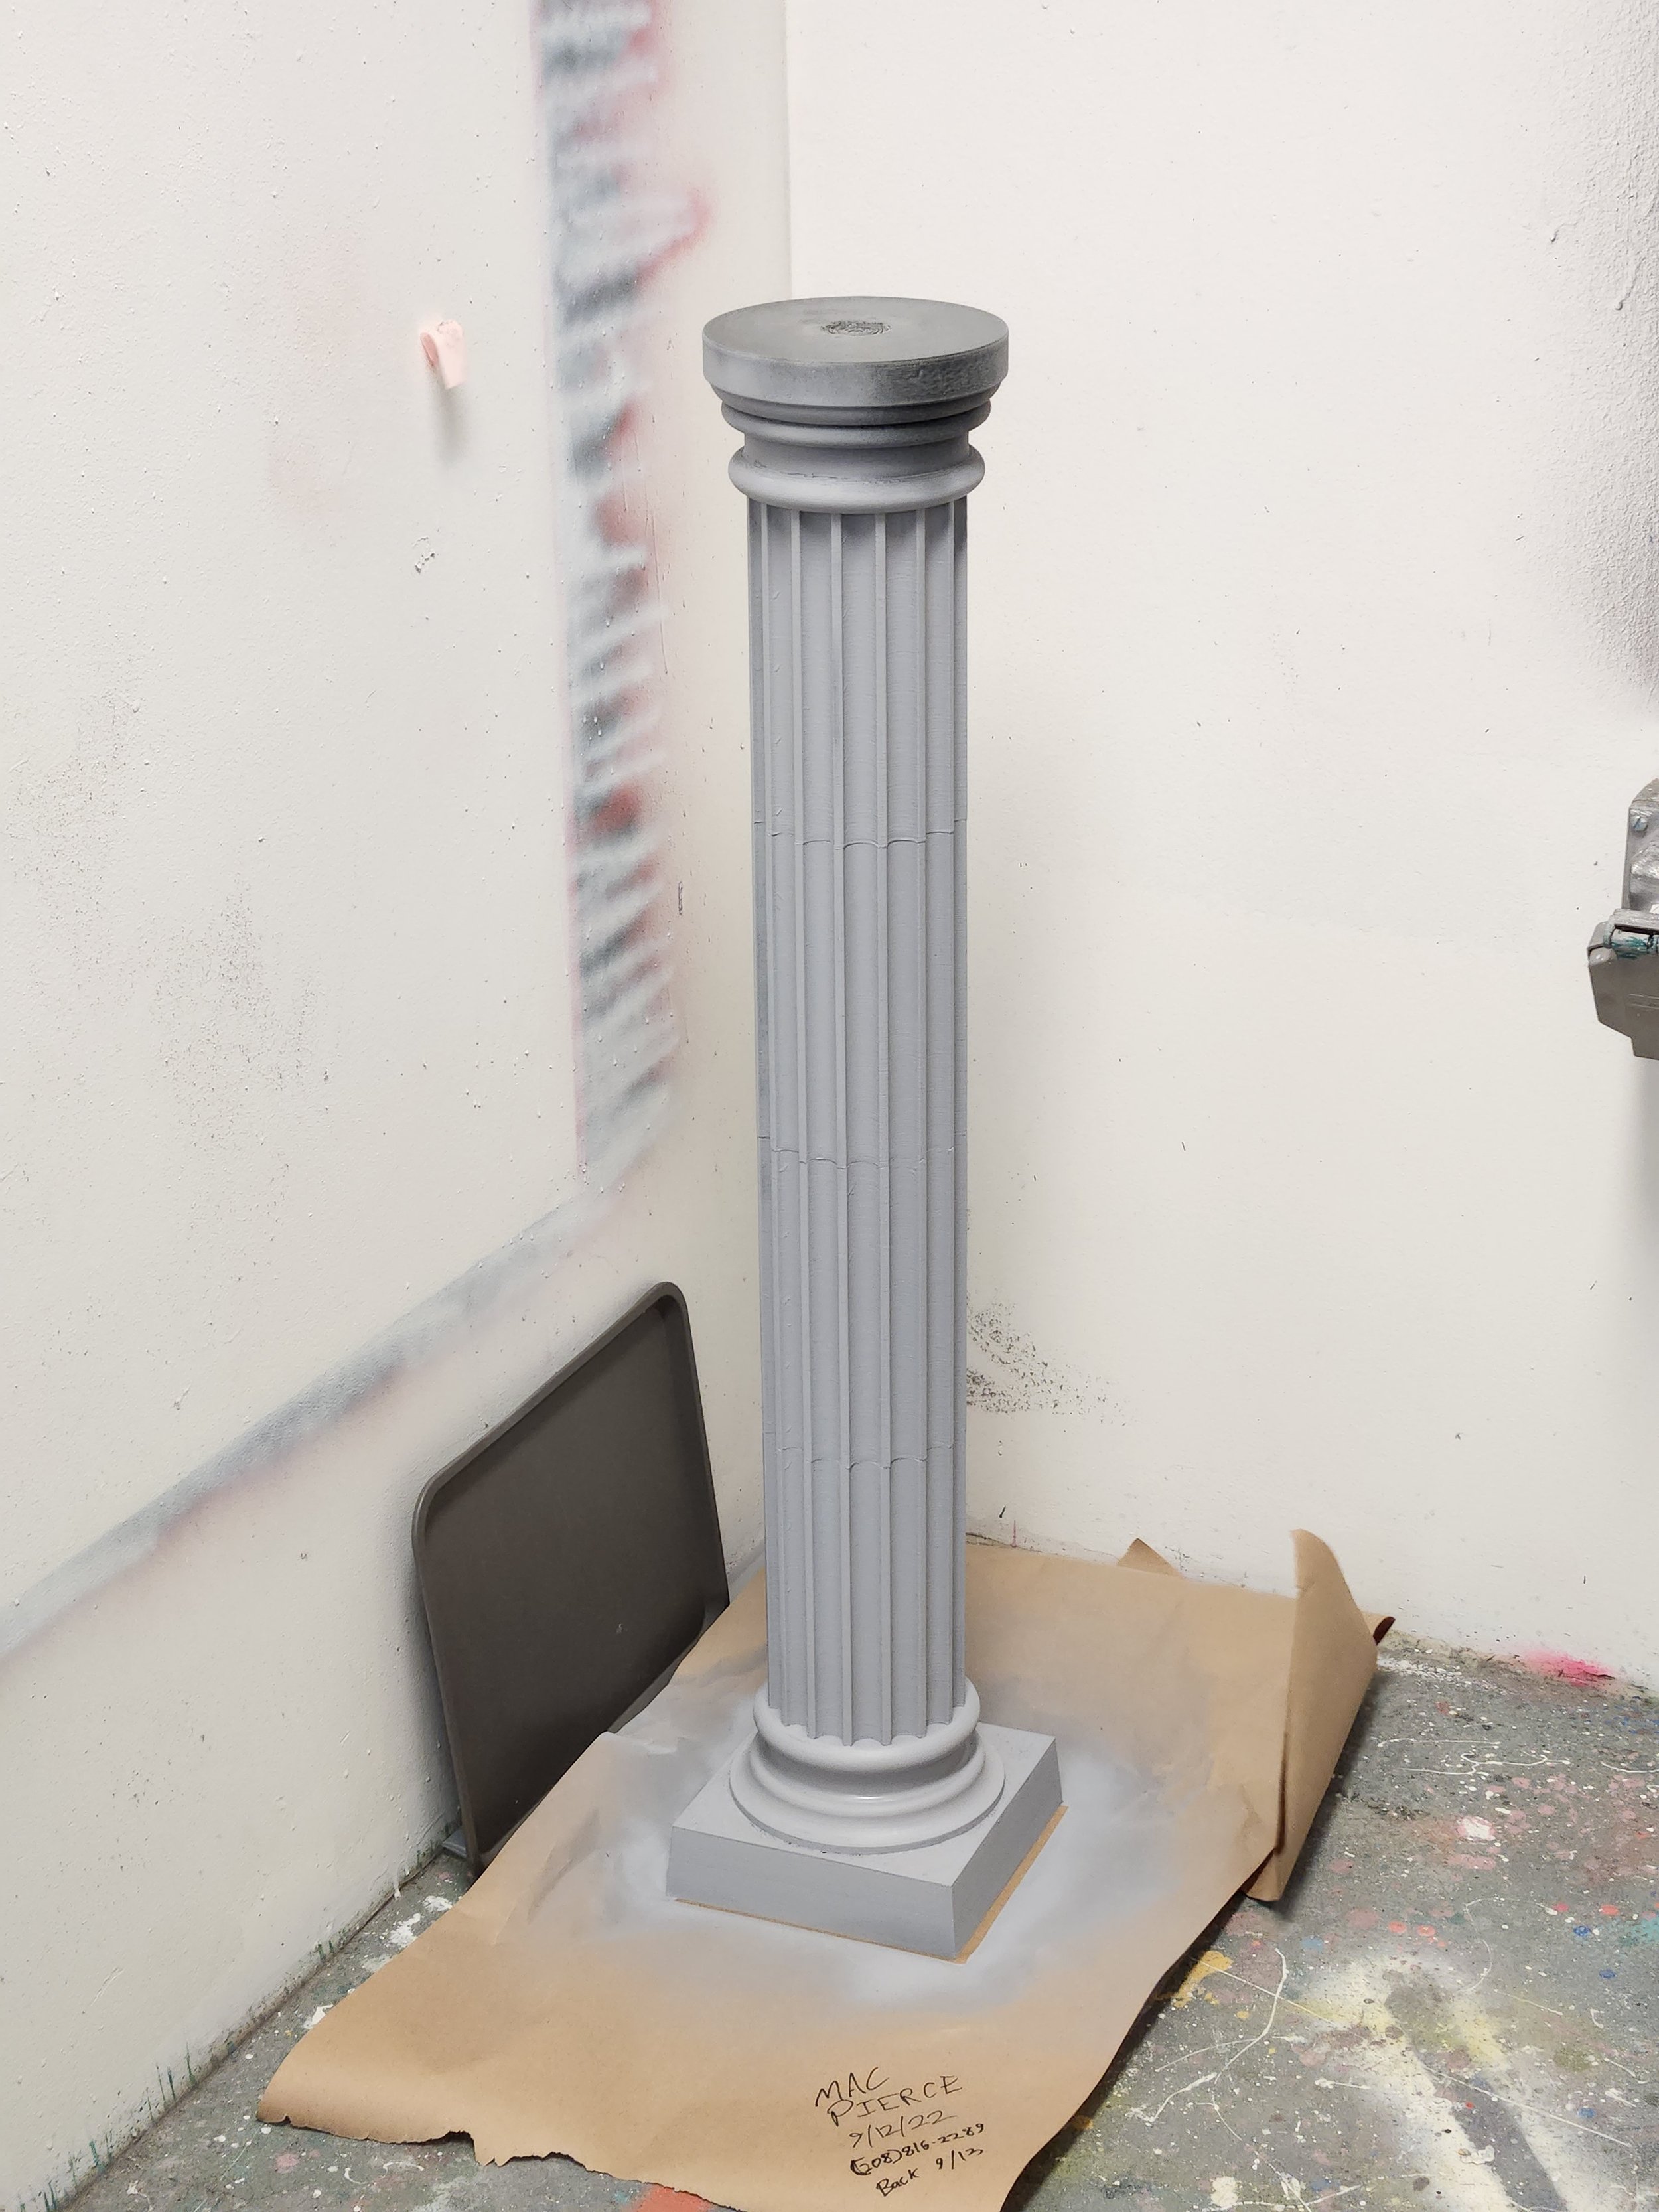
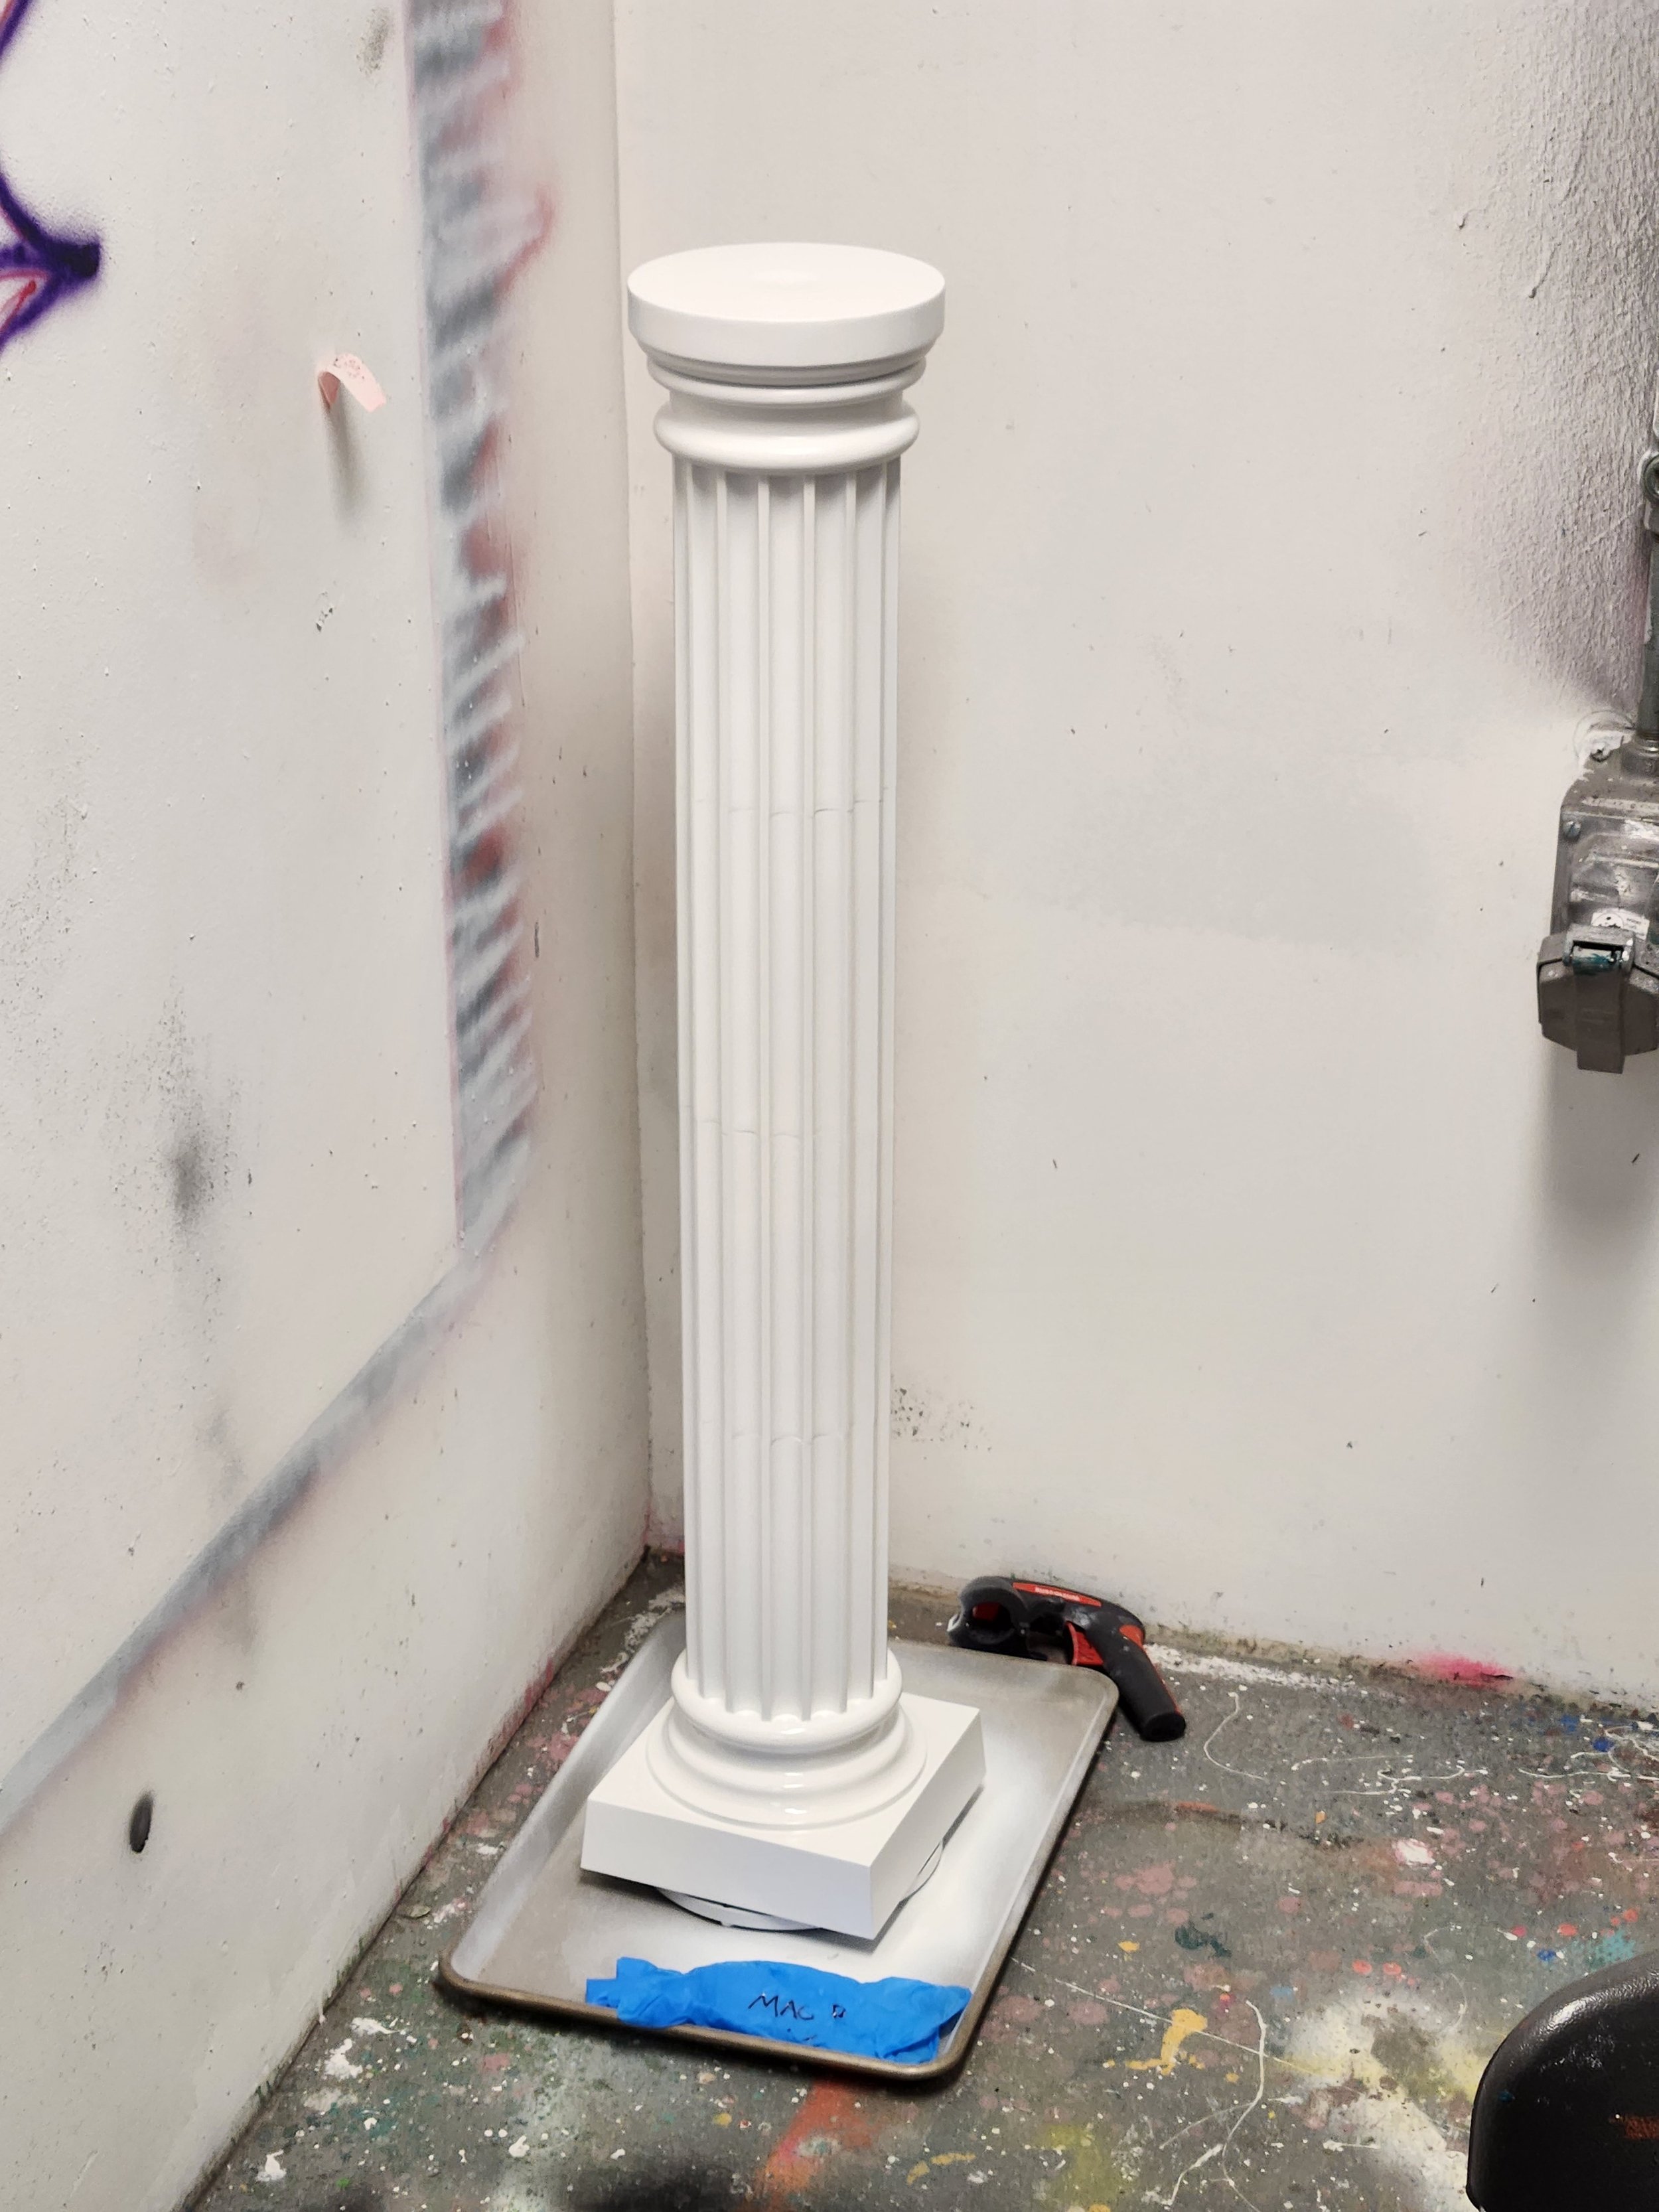
(Pro tip - dont use construction adhesive to glue together PETG. It doesn’t work.)

Nice.
And with that, the cannonball was complete.
All right, that’s all I’ve got for now. This concludes the iron casting portion of the blog posting. I also recently participated in an aluminum pour in Chicago, but I’ll go into that later.
Cheers!
Mac